
1. Gabatarwa
This manual provides detailed instructions for the installation, operation, and maintenance of the GeoVision GV-MFD2501-6F 2MP Mini Fixed Dome IP Security Camera. Please read this manual thoroughly before using the product to ensure proper setup and functionality. Keep this manual for future reference.
1.1 Samfuran Samaview
The GV-MFD2501-6F is a compact 2-megapixel mini fixed dome IP camera designed for various surveillance applications. It features a 2.3mm lens, super low lux capabilities, and supports network connectivity for remote monitoring.
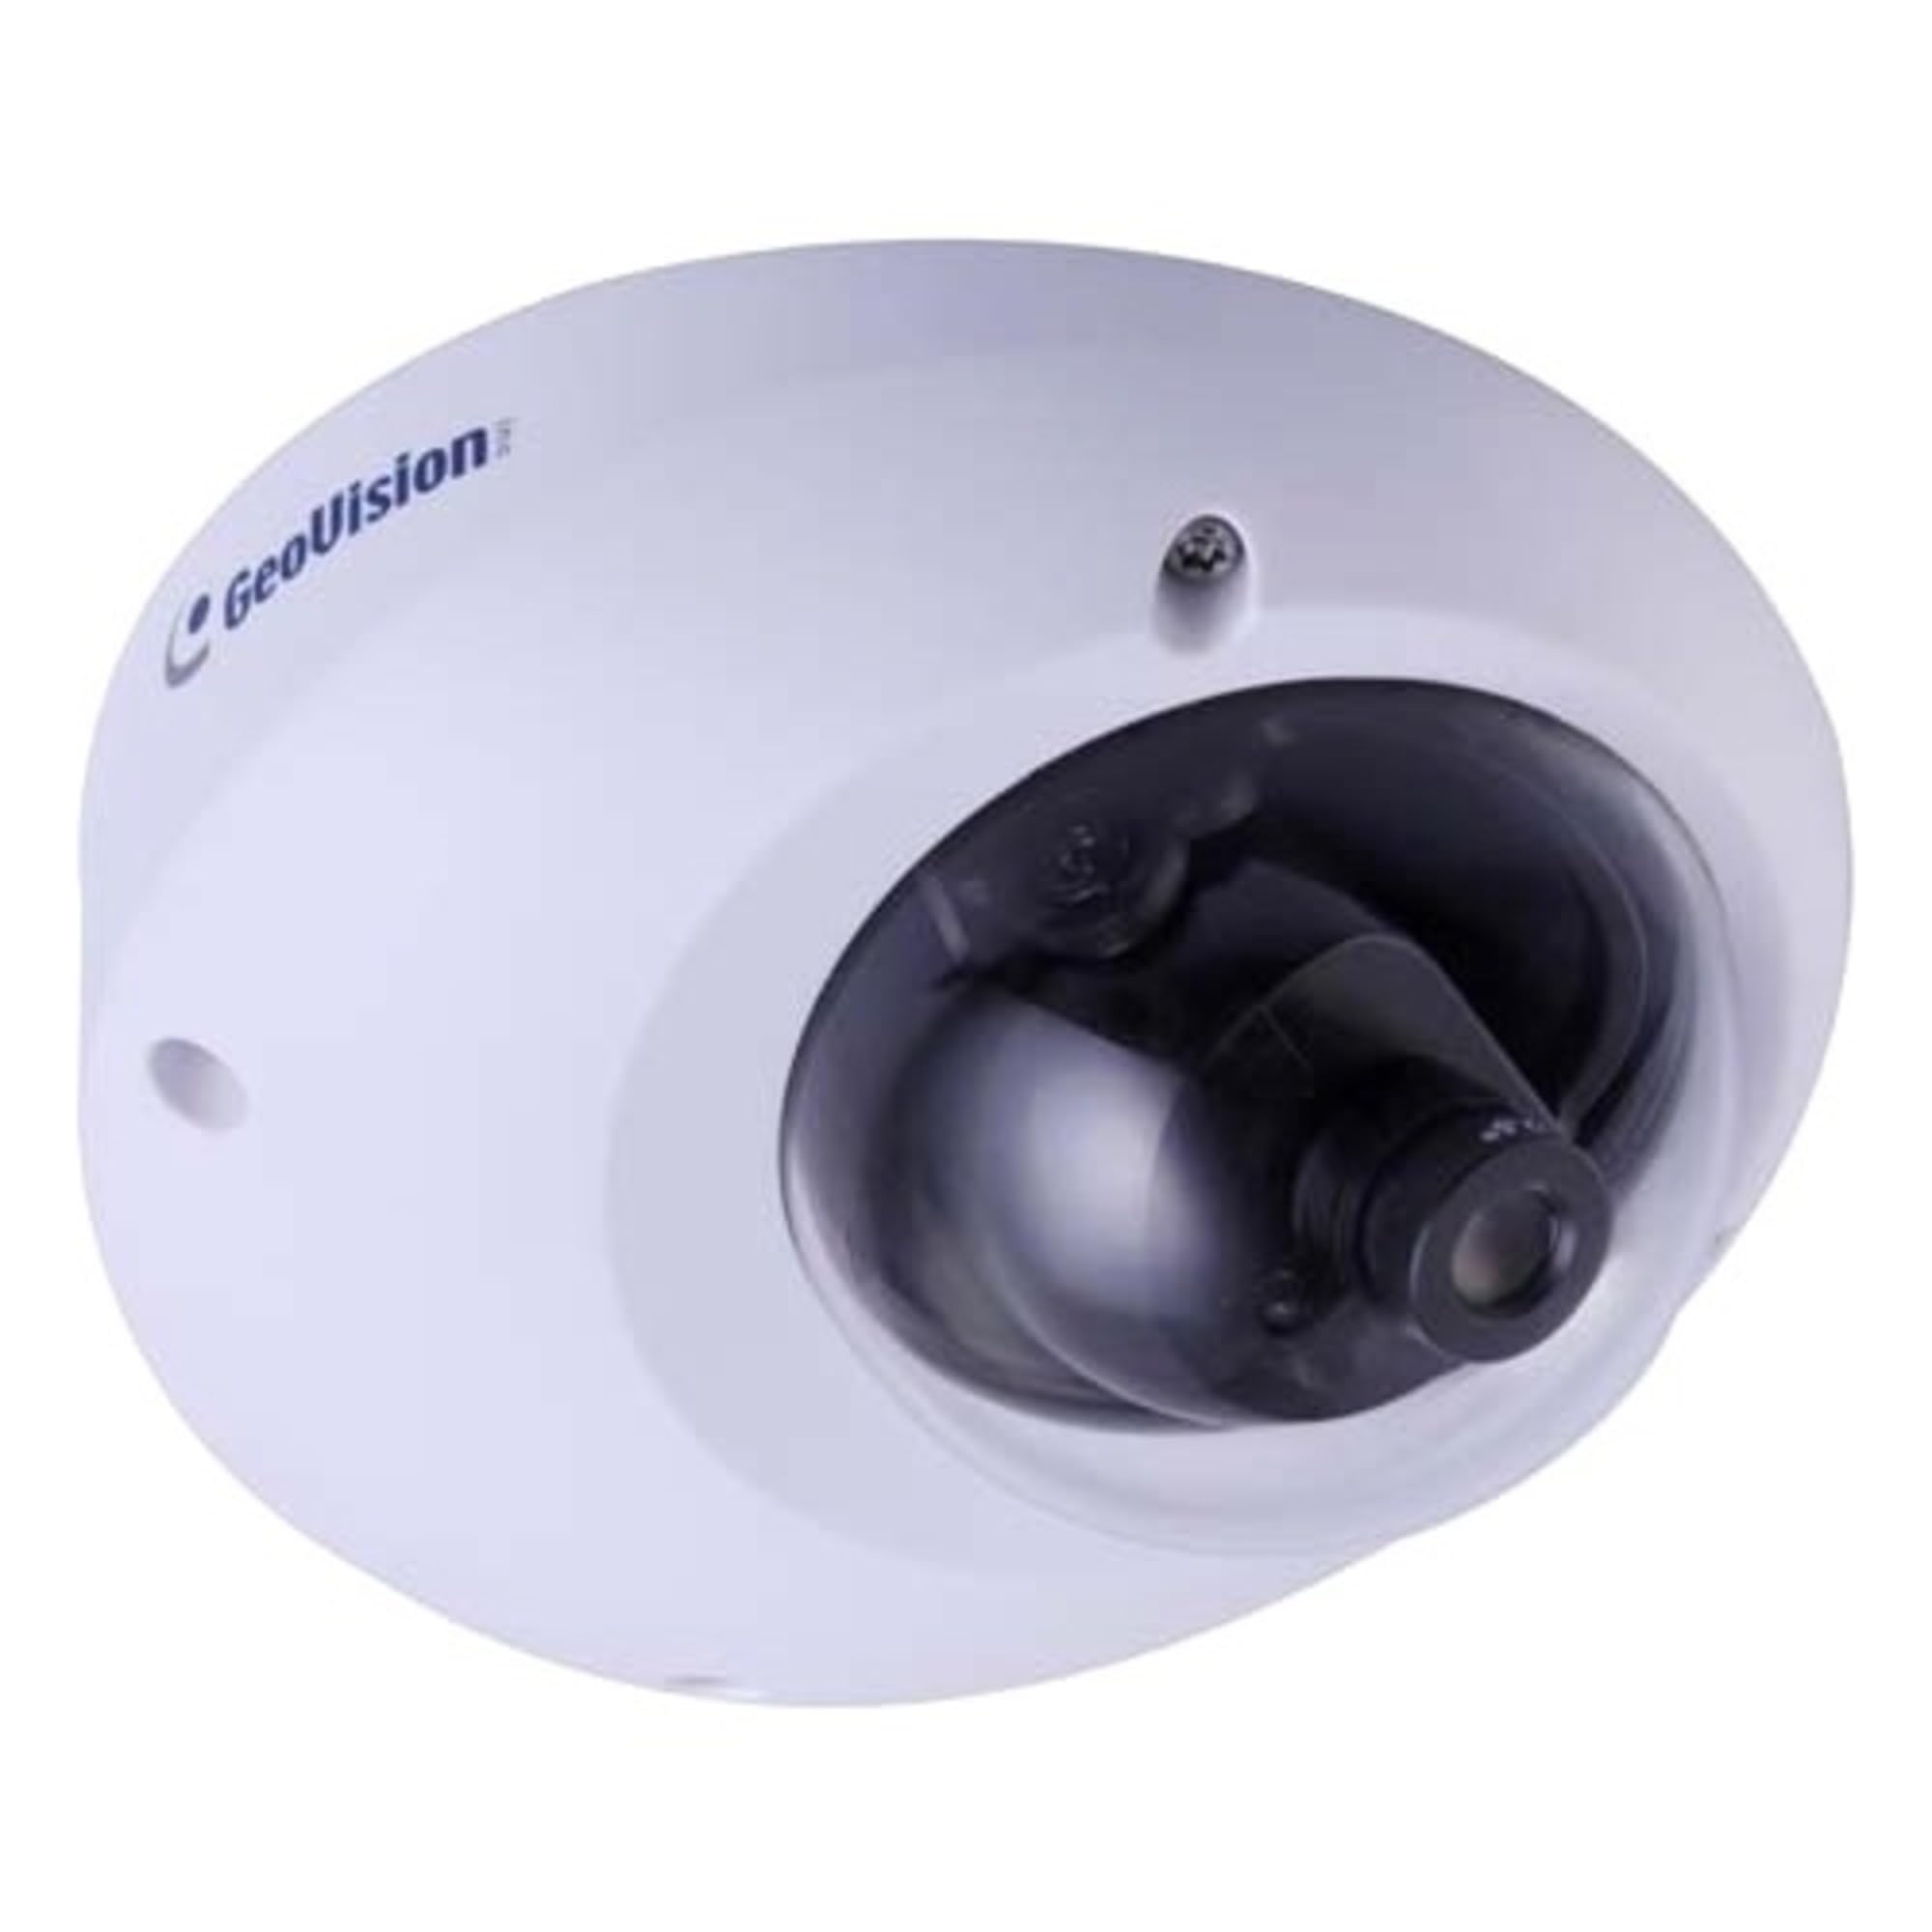
Figure 1.1: GeoVision GV-MFD2501-6F Mini Fixed Dome IP Security Camera. This image shows the compact design of the camera, highlighting its dome shape and lens.
Abubuwan Kunshin 1.2
Verify that all items are present in the package. If any items are missing or damaged, contact your dealer immediately.
- GV-MFD2501-6F IP Camera
- Kit ɗin Dunƙule
- Jagoran Shigarwa
- Faifan CD na Software (ko hanyar haɗi don saukewa)
- Waterproof Connector (if applicable)
2. Bayanin Tsaro
WARNING: To prevent fire or shock hazard, do not expose this unit to rain or moisture.
- Use only the power adapter specified for this device.
- Do not open the camera housing. Refer all servicing to qualified personnel.
- Avoid placing the camera in direct sunlight, near heat sources, or in areas with high humidity or dust.
- Tabbatar da samun iska mai kyau a kusa da kamara.
- Cire haɗin wuta kafin tsaftacewa ko aiwatar da kulawa.
3. Saita
3.1 Shigarwa na Jiki
The GV-MFD2501-6F is designed for indoor use. Choose a suitable mounting location that provides the desired field of view and is within reach of network and power cables.
- Shirya Dutsen Dutsen: Use the provided mounting template (if included) to mark drill holes.
- Ramin Fasa: Hana ramukan matukin jirgi don masu hawa sukurori.
- Tsare Kyamara: Haɗa tushen kyamara zuwa saman ɗaurawa ta amfani da sukurori da aka bayar.
- Daidaita kusurwa: Loosen the adjustment screws to position the camera lens for the desired viewing angle, then tighten the screws to secure it.
Figure 3.1: Illustrative diagram of camera mounting. This image would typically show the steps for securing the camera to a ceiling or wall, including screw placement and cable routing.
3.2 Waya da Haɗi
Connect the camera to your network and power source.
- Cable Ethernet: Connect an Ethernet cable from your network switch or router to the camera's RJ-45 port. If using Power over Ethernet (PoE), this single cable provides both power and data.
- Power Adapter (if not using PoE): If PoE is not available, connect a compatible 12V DC power adapter (not included) to the camera's power input port.
Figure 3.2: Diagram showing camera wiring connections. This image would illustrate how to connect the Ethernet cable and, if necessary, the power adapter to the camera's ports.
3.3 Tsarin Cibiyar Sadarwa ta Farko
After physical installation and connection, configure the camera for network access.
- Kunna Wuta: Connect the camera to power. The camera will perform a self-test.
- Gano Kyamara: Use the GeoVision GV-IP Device Utility (available on the GeoVision website) to discover the camera on your local network. The utility will display the camera's IP address.
- Shiga Web Interface: Bude a web browser (e.g., Chrome, Firefox) and enter the camera's IP address in the address bar.
- Shiga: Enter the default username (e.g., "admin") and password (e.g., "admin" or "1234"). You will be prompted to change the password upon first login for security.
- Saitunan hanyar sadarwa: Navigate to the network settings to configure IP address (DHCP or Static), subnet mask, gateway, and DNS settings as required by your network environment.
4. Umarnin Aiki
Once configured, the camera can be accessed and managed through its web interface or compatible GeoVision VMS software.
4.1 Rayuwa View
Daga web hanyar haɗin yanar gizo, je zuwa "Live" View" section to see the real-time video feed from the camera. You can adjust video stream settings such as resolution, frame rate, and quality here.
4.2 Saitunan Rikodi
Configure recording schedules, motion detection recording, and continuous recording options. Recordings can be stored on a network-attached storage (NAS), local storage (if supported), or a GeoVision NVR/VMS.
4.3 Gane Motsi
Set up motion detection zones and sensitivity levels. When motion is detected, the camera can trigger recording, send email alerts, or activate other alarm outputs.
4.4 Samun Nisa
To access the camera remotely, ensure your network router is configured for port forwarding (if not using a VPN or cloud service). Refer to your router's manual for port forwarding instructions. GeoVision also offers mobile applications for remote viewing.
5. Kulawa
5.1 Tsaftace Kamara
Regularly clean the camera lens and housing to ensure optimal image quality. Use a soft, dry cloth. For stubborn dirt, a slightly damp cloth with mild detergent can be used, followed by a dry cloth. Do not use abrasive cleaners or solvents.
5.2 Sabunta Firmware
Periodically check the GeoVision webshafin don sabunta firmware. Sabunta firmware na iya samar da sabbin abubuwa, haɓaka aiki, da haɓaka tsaro. Bi umarnin da aka bayar tare da fakitin sabunta firmware a hankali.
5.3 Gudanar da Kalmar wucewa
Regularly change your camera's password to a strong, unique password to prevent unauthorized access.
6. Shirya matsala
| Matsala | Dalili mai yiwuwa | Magani |
|---|---|---|
| Babu wutar lantarki zuwa kyamara | Power adapter unplugged or faulty; PoE not active. | Check power connections. Ensure PoE switch/injector is active. Test with a known good power source. |
| Babu ciyarwar bidiyo | Network cable disconnected; incorrect IP address; firewall blocking access. | Verify Ethernet cable connection. Use GV-IP Device Utility to find camera. Check network settings and firewall rules. |
| Ba za a iya shiga ba | Incorrect username/password. | Ensure correct credentials. If forgotten, refer to the GeoVision website for password reset procedures (may require physical access). |
| Orarancin hoto | Dirty lens; improper focus; low light conditions; incorrect video settings. | Clean the lens. Adjust focus if applicable. Ensure adequate lighting. Check resolution, frame rate, and compression settings. |
7. Ƙayyadaddun bayanai
The following are key specifications for the GeoVision GV-MFD2501-6F camera:
- Samfura: 84-MFD2501-6F1U
- Ƙaddamarwa: 2 megapixels
- Lens: Kafaffen Lens 2.3mm
- Haɗin kai: Mara waya Note: While "Wireless" is listed in specifications, this IP camera primarily uses wired Ethernet for reliable data transmission and PoE. Wireless functionality may refer to specific optional modules or control methods.
- Ƙarfi: PoE (Power over Ethernet) or 12V DC (adapter not included)
- Girma: Approximately 21 x 18.6 x 9.3 cm (Parcel Dimensions)
- Nauyi: Approximately 487 g (Parcel Weight)
- Yanayin Aiki: (Information not provided, typical range is -10°C to 50°C)
- Mai ƙira: GeoVision
8. Garanti da Tallafawa
8.1 Bayanin Garanti
GeoVision products typically come with a limited warranty. For specific warranty terms and conditions, please refer to the warranty card included with your product or visit the official GeoVision website. Ajiye shaidar siyan ku don da'awar garanti.
8.2 Tallafin Fasaha
For technical assistance, product inquiries, or troubleshooting beyond this manual, please contact GeoVision customer support or your authorized GeoVision dealer. Visit the official GeoVision webshafin (www.geovision.com.tw) for support resources, FAQs, and contact information.