
1. Samfurin Ya Ƙareview
The Midiplus Studio M is a compact and high-performance USB audio interface designed for studio recording. It features one input and two outputs, supporting high-quality microphone input and 24-bit/192kHz high-precision sampling. The device is powered via PC USB and includes 48V phantom power for condenser microphones. Its small, exquisite design is compatible with both Mac and Windows operating systems, making it a versatile tool for musicians and producers.
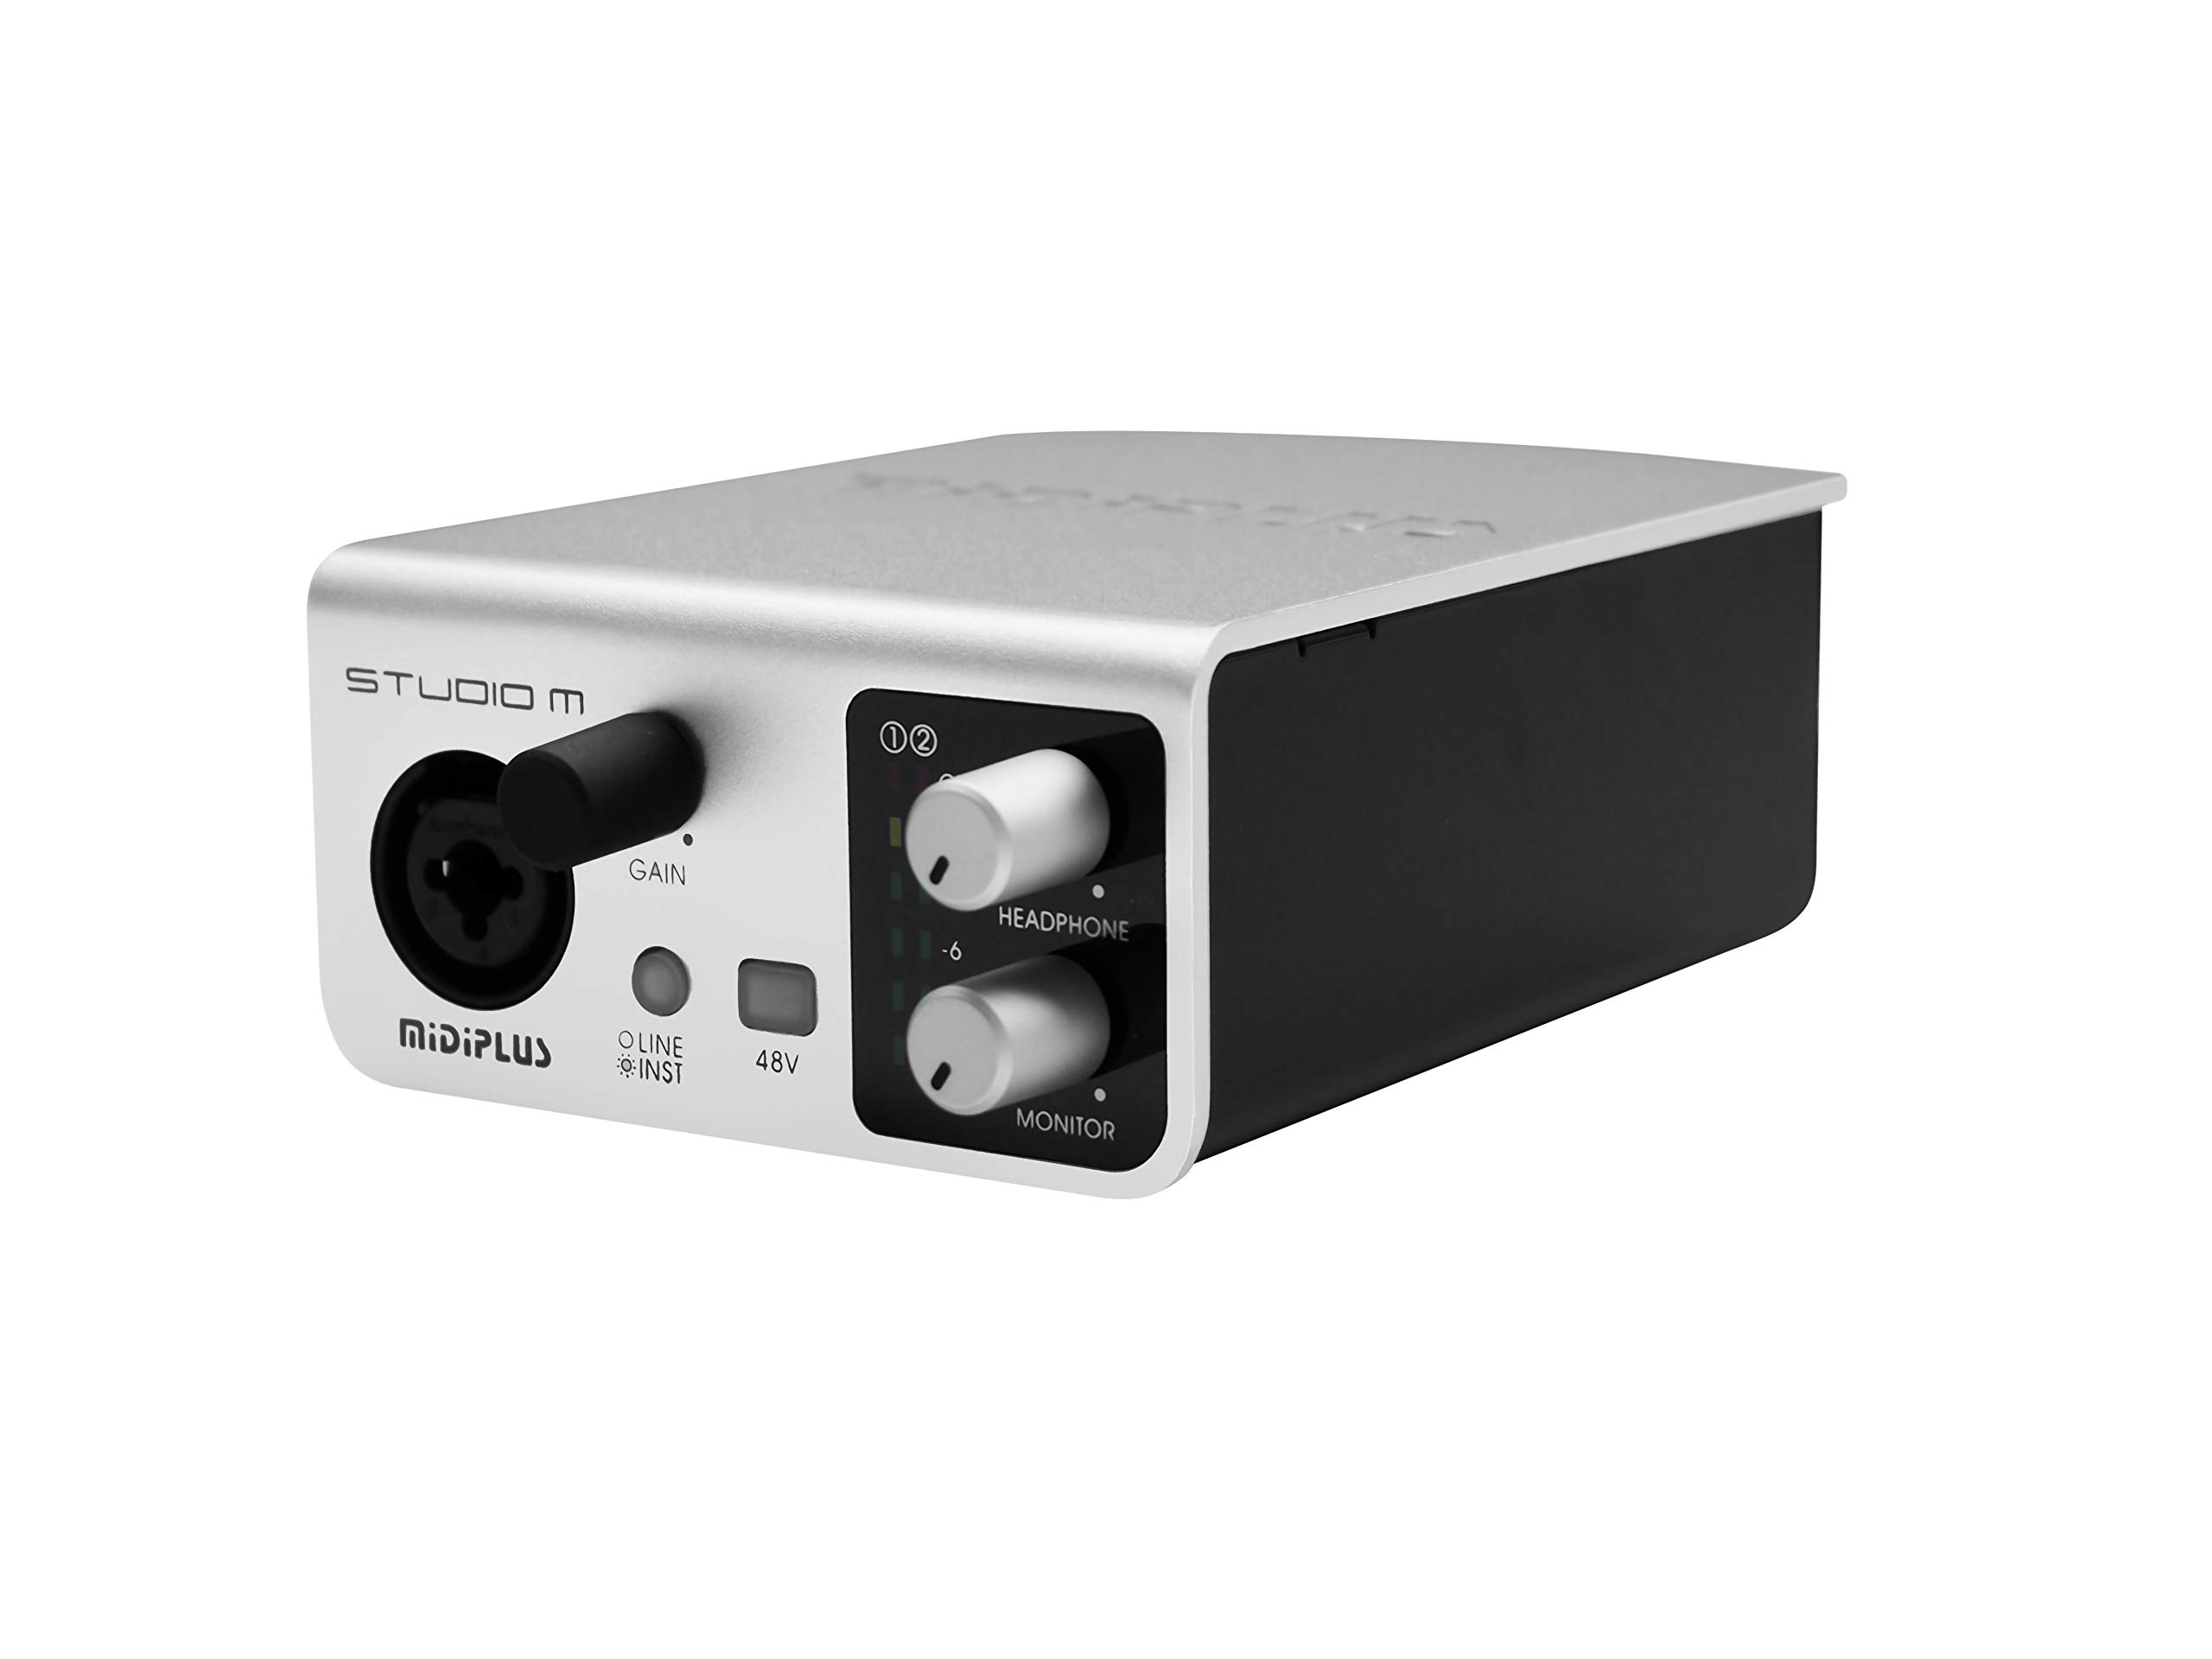
Hoto na 1: Gaba da baya view of the Midiplus Studio M USB Audio Interface.
2. Jagorar Saita
Abubuwan Kunshin 2.1
- Midiplus Studio M USB Audio Interface
- Kebul na USB
- Manual's Owner's (wannan takarda)
- Katin Bayanai
2.2 Tsarin Bukatun
- Tsarin aiki: Windows, macOS
- Compatible Devices: Personal Computer with USB port
2.3 Haɗa Na'urar
- Connect the Midiplus Studio M to your computer using the provided USB cable. The device is USB-powered.
- Ensure your operating system (Windows or macOS) recognizes the device. Drivers may be required for optimal performance; refer to the Midiplus website for the latest driver downloads.
- Connect your microphone or instrument to the Input (MIC/Line/Hi-z) interface on the front panel.
- Connect your headphones to the headphone interface on the front panel, or your studio monitors to the Output interface (Left/Right) on the rear panel.

Figure 2: Midiplus Studio M connected to a computer, showing input and output cables.
3. Umarnin Aiki
3.1 Gudanar da Ƙungiyar Gaba
- Input Gain Control Knob: Adjusts the input level for the connected microphone or instrument.
- Switch (Mic/Instrument) Button: Toggles between microphone and instrument input modes.
- 48V Phantom Power ON/OFF: Activates or deactivates 48V phantom power for condenser microphones.
- Headphone Volume Control Button: Adjusts the output volume for connected headphones.
- Output Volume Control Button: Adjusts the main output volume for connected studio monitors.

Figure 3: Midiplus Studio M in a studio setup, demonstrating its compact size and integration.
3.2 Haɗin Ƙungiyar Rear
- Kebul Interface: USB2.0 port for connection to your computer and power supply.
- Output Interface (Left/Right): Connects to your studio monitors or other output devices.
- Extensible Device Interface: Provides additional connectivity options for other devices.
4. Kulawa
- A kiyaye na'urar ta hanyar goge ta da kyalle mai laushi da busasshe. A guji amfani da sinadarai masu ƙarfi ko kayan gogewa.
- Ensure all cables are securely connected to prevent signal loss or damage.
- Ajiye na'urar a wuri mai sanyi da bushewa, nesa da hasken rana kai tsaye da kuma yanayin zafi mai tsanani.
- Ka guji sanya abubuwa masu nauyi a saman naúrar.
5. Shirya matsala
5.1 Babu Fitar da Sauti
- Check all cable connections (USB, input, output, headphones).
- Ensure the device is powered on and recognized by your computer.
- Verify that the output volume controls (headphone and main output) are turned up.
- Check your computer's sound settings to ensure the Midiplus Studio M is selected as the output device.
5.2 Input Signal Issues
- Adjust the Input Gain Control Knob.
- Ensure the correct input mode (Mic/Instrument) is selected.
- If using a condenser microphone, verify that 48V Phantom Power is enabled.
- Check the microphone/instrument cable for damage.
5.3 Kwamfuta Ba Ta Gane Na'ura Ba
- Gwada haɗa kebul na USB zuwa tashar USB daban akan kwamfutarka.
- Sake kunna kwamfutarka.
- Ensure the latest drivers for the Midiplus Studio M are installed from the official Midiplus website.
- Gwada da kebul na USB daban idan akwai.
6. Bayanan fasaha
| Siffar | Daki-daki |
|---|---|
| Lambar Samfura | Studio M |
| Alamar | Midiplus |
| Fasahar Haɗuwa | USB (USB2.0) |
| Ƙaddamar Sauti | 24-bit / 192kHz |
| Abubuwan shigarwa | 1 (MIC/Line/Hi-z) |
| Abubuwan da aka fitar | 2 (Left/Right) |
| Fatalwa Power | 48V (switchable) |
| Tsarukan Ayyuka masu jituwa | Windows, macOS |
| Girman samfur | 5.28 x 3.54 x 1.89 inci |
| Nauyin Abu | 14.1 oganci (0.4 Kilogram) |
7. Garanti da Tallafawa
For warranty information and technical support, please refer to the official Midiplus website or contact your local dealer. Keep your purchase receipt as proof of purchase for any warranty claims.