
JEYI I9-Seal
JEYI I9-Seal M.2 NVMe SSD Enclosure User Manual
Model: I9-Seal
Gabatarwa
This manual provides comprehensive instructions for the installation, operation, and maintenance of your JEYI I9-Seal M.2 NVMe SSD Enclosure. This device converts an NVMe M.2 solid-state drive into a portable external storage solution with high-speed USB 3.2 Gen 2 connectivity.
Abubuwan Kunshin
Da fatan za a tabbatar cewa duk abubuwan da aka jera a ƙasa suna cikin kunshin ku:
- JEYI M.2 NVMe SSD Enclosure
- Thermal Pads
- Screwdriver
- USB-A to USB-C Cable (10Gbps)
- USB-C to USB-C Cable (10Gbps)
- Lanyard

Saita Umarnin
Follow these steps to install your NVMe M.2 SSD into the JEYI I9-Seal enclosure:
- Shirya Rufin: Gently slide open the enclosure to reveal the internal PCB.
- Aiwatar da thermal pads: Peel off the protective films from both sides of a thermal pad and carefully place it onto the NVMe SSD chip area. This aids in heat dissipation.
- Saka NVMe SSD: Align your NVMe M.2 SSD (2280 form factor only) with the M-Key slot on the PCB. Insert the SSD firmly but gently into the slot at an angle.
- Tabbatar da SSD: Once inserted, gently push down the SSD and secure it with the provided screw using the included screwdriver. Ensure the SSD is flat and securely fastened.
- Rufe Rufe: Carefully slide the enclosure cover back into place until it clicks securely.


Umarnin Aiki
Once your NVMe SSD is securely installed, connect the enclosure to your device:
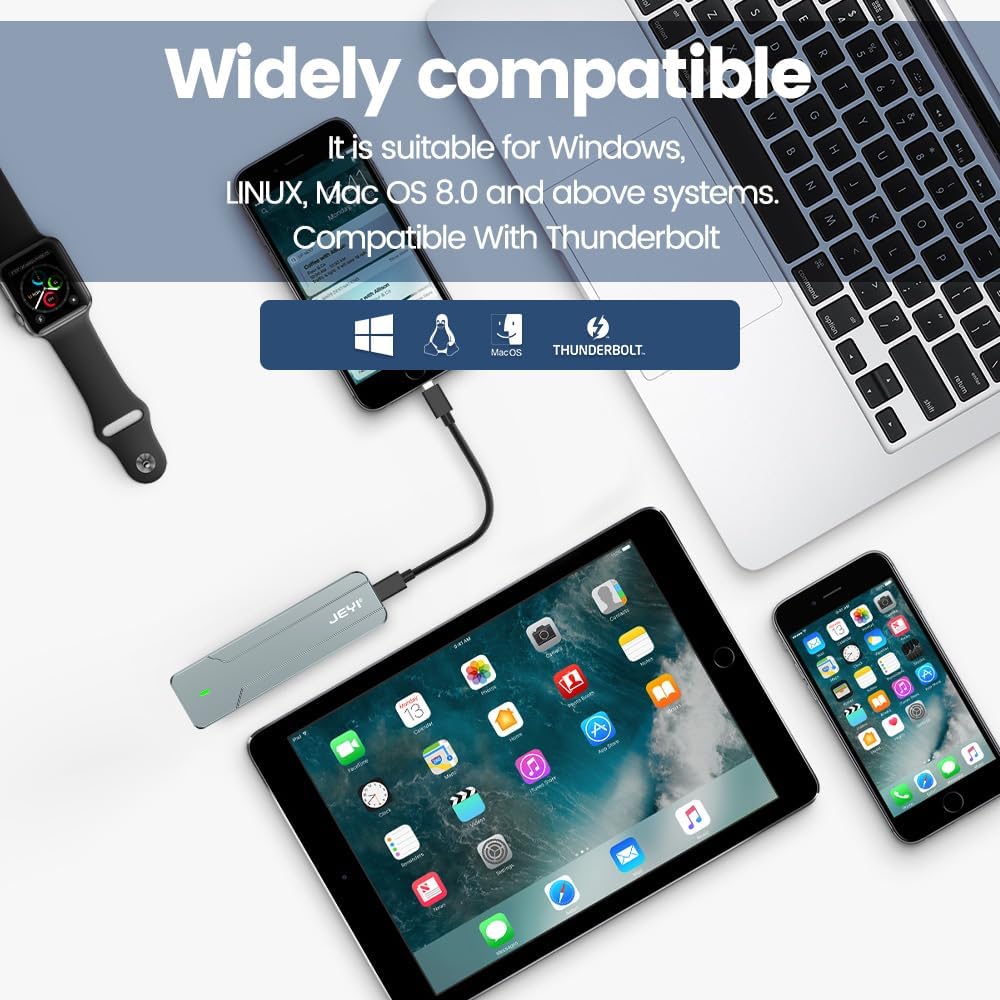
- Haɗa zuwa Na'ura: Use either the provided USB-C to USB-C cable or the USB-A to USB-C cable to connect the enclosure to a compatible USB port on your computer, smartphone, tablet, or game console.
- Alamar Wuta: A small LED indicator on the enclosure will illuminate, signifying that the device is powered on and connected.
- Disk Recognition: Your operating system (Windows, macOS, Linux, Android, iOS) should automatically detect the new storage device. If it's a new SSD, you may need to initialize and format it through Disk Management (Windows) or Disk Utility (macOS) before use.
- Canja wurin bayanai: You can now perform data backup, file transfers, disk upgrades, data recovery, or use it for storage expansion. The enclosure supports USB 3.2 Gen 2 speeds up to 10Gbps.

Kulawa
To ensure optimal performance and longevity of your JEYI I9-Seal enclosure:
- Gudanar da zafi: Aluminum casing and thermal pads are designed for efficient heat dissipation. During prolonged high-speed data transfers, the enclosure may become warm to the touch. This is normal and indicates effective heat transfer from the SSD.
- Tsaftacewa: Yi amfani da kyalle mai laushi da busasshe don tsaftace wajen murfin. A guji amfani da ruwan tsaftacewa ko abubuwan da ke narkewa.
- Ajiya: When not in use, store the enclosure in a cool, dry place away from direct sunlight and extreme temperatures.
- Kulawar Kebul: Handle the USB cables carefully. Avoid sharp bends or excessive pulling to prevent damage.
Shirya matsala
| Matsala | Dalili mai yiwuwa | Magani |
|---|---|---|
| Komfuta ba ta gano maƙarƙashiya ba. |
|
|
| A hankali saurin canja wurin bayanai. |
|
|
| Enclosure gets very hot. |
|
|
Ƙayyadaddun bayanai
| Siffar | Daki-daki |
|---|---|
| Samfura | I9-Seal |
| Alamar | JEYI |
| Interirƙirar Abun Taɗi | USB 3.2 Gen 2 (USB-C) |
| Yawan Canja wurin Bayanai | Har zuwa 10 Gbps |
| Nau'in SSD mai jituwa | NVMe M.2 (PCI-E M-Key) |
| Supported SSD Form Factor | 2280 (80mm) only |
| Matsakaicin Ƙarfin Ma'aji | 4 TB |
| Chipset | JMS583 A3 |
| Siffofin | UASP Support, TRIM Support, Win to Go (WTG) Support |
| Kayan abu | Aluminum Alloy |
| Launi | Azurfa |
| Girman samfur | 4.06 x 1.02 x 0.39 inci (103 x 26 x 10 mm) |
| Nauyin Abu | 0.317 oz (9 grams) |
| Tsarukan Ayyuka masu jituwa | Windows, macOS, Linux, iOS, Android |

Garanti da Taimako
For warranty information or technical support, please refer to the official JEYI website or contact their customer service directly. Details regarding specific warranty periods and support channels are typically provided with your purchase documentation or on the manufacturer's website.
Mai ƙira: JEYI
Website: Visit the JEYI Store on Amazon
Ask a question about this manual
Ask about setup, troubleshooting, compatibility, parts, safety, or missing instructions. Manuals+ will review the question and use this page’s manual context to help answer it.