
1. Gabatarwa
The xTool F1 is a versatile 2-in-1 dual laser engraver designed for high-speed and precision engraving and cutting across a wide range of materials. It integrates a 2W infrared laser for metals and a 10W diode laser for organic materials like wood and acrylic. This manual provides essential information for safe operation, setup, maintenance, and troubleshooting of your xTool F1 device.
2. Bayanin Tsaro
WARNING: The xTool F1 is a Class 4 laser product. Direct exposure to the laser beam can cause severe eye and skin damage. Always follow safety guidelines.
- Kariyar ido: Always wear appropriate laser safety goggles when operating the device, even with the protective cover.
- Enclosed Operation: The xTool F1 features a fully enclosed cover to block smoke and filter the laser. Ensure the cover is properly closed during operation.
- Samun iska: Operate the device in a well-ventilated area. Utilize the built-in fan and consider an external air purifier (sold separately) to manage smoke and odors.
- Tsaron Abu: Only engrave or cut materials approved for laser processing. Avoid materials that produce toxic fumes or are highly flammable.
- Kulawa: Kada a bar na'urar ba tare da kulawa ba yayin aiki.
- Tsaida Gaggawa: Sanin kanku da wurin maɓallin dakatarwar gaggawa da aiki.
3. Abubuwan Samfur
The xTool F1 comes pre-assembled. Key components include:
- xTool F1 Main Unit (with integrated 2W Infrared and 10W Diode Lasers)
- Protective Enclosure/Cover
- Adaftar Wuta
- Kebul na USB
- Material Pack (for testing)
- Kwamitin Yanke

Image: The xTool F1 unit shown with its pre-assembled design and included accessories such as a cutting panel and material samples.
4. Saita
The xTool F1 is designed for quick setup due to its pre-assembled nature.
- Cire kaya: Carefully remove the xTool F1 from its packaging.
- Wuri: Place the engraver on a stable, level surface in a well-ventilated area.
- Haɗin Wuta: Connect the power adapter to the engraver and then to a power outlet.
- Haɗin Kwamfuta: Haɗa engraver zuwa kwamfutarka ta amfani da kebul na USB da aka bayar.
- Shigar da Software: Zazzage kuma shigar da xTool Creative Space software daga xTool na hukuma website. Alternatively, LightBurn software is also supported.
5. Umarnin Aiki
5.1 Software Overview
The xTool F1 is compatible with:
- xTool Creative Space: User-friendly software supporting SVG, DXF, JPG, PNG, and BMP formats.
- LightBurn: A mature engraving software for common laser cutters.

Image: The xTool F1 supports various devices including phones, iPads, and laptops, utilizing xTool Creative Space and Lightburn software for design and control.
5.2 Mai da hankali
Accurate focusing is crucial for optimal engraving results.
- Mayar da hankali ta atomatik: Enter the material thickness in the software, and the laser head will automatically adjust its height to maintain focus.
- Mayar da hankali ta Manual: Turn the knob on the device to adjust the laser head height. Ensure the two red dots projected by the laser overlap perfectly on the material surface for precise focus.
Image: Illustration of auto-focus, where material thickness is input, and manual focus, where a knob is turned to align two red laser dots.
5.3 Engraving Process (3 Steps)
Engraving with the xTool F1 is a straightforward process:
- Step 1: Design Creation: Create or import your design using xTool Creative Space or LightBurn.
- Mataki na 2: Preview and Positioning: Use the live preview function to ensure your design is correctly positioned on the material. The device can project a frame preview or a graph outline preview.
- Step 3: Start Engraving: Da zarar an gamsu da preview, press the button on the device to begin the engraving process.
Image: A visual guide to the three-step engraving process: designing on a tablet, previewing on the machine, and pressing the start button.
5.4 Material Compatibility and Dual Lasers
The xTool F1 features two distinct lasers for broad material compatibility:
- 2W 1064nm Infrared Laser: Ideal for engraving all metal materials and some plastics.
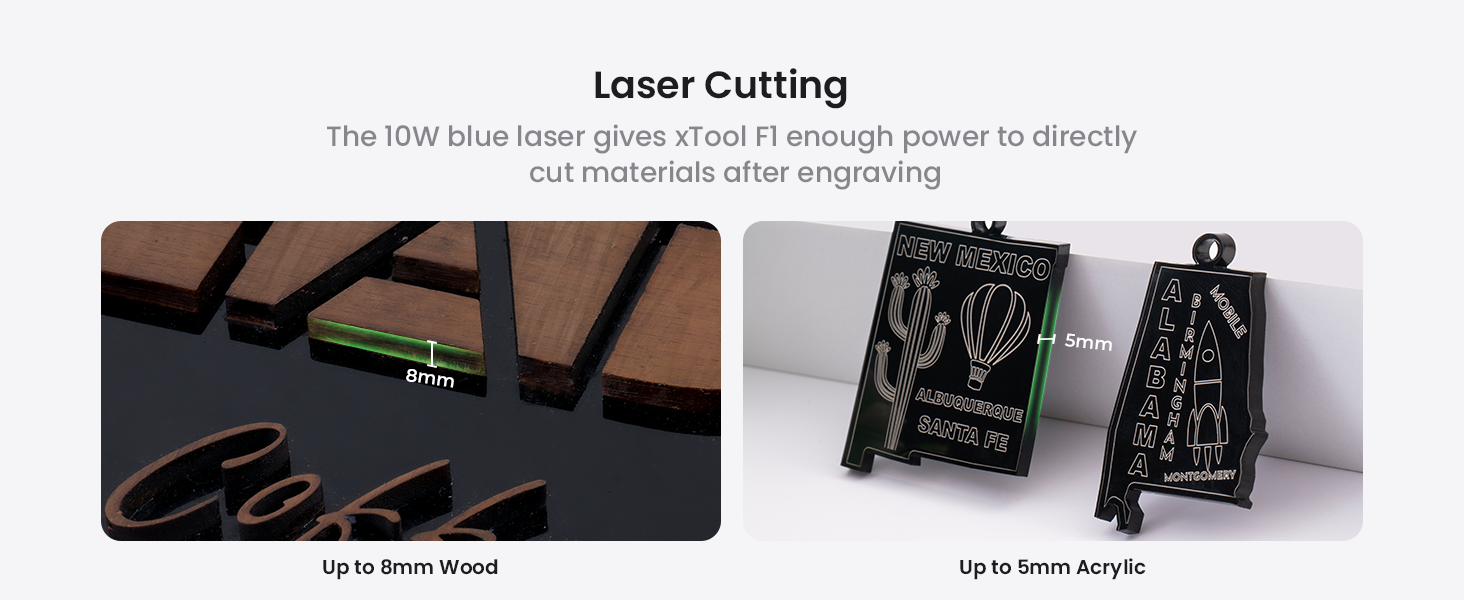
- 10W 455nm Blue Diode Laser: Suitable for cutting and engraving wood, acrylic, leather, paper, rubber, and other organic materials. It can cut up to 10mm wood and 6mm acrylic.
Hoto: Na ciki view of the xTool F1, highlighting the distinct paths of the 2W infrared laser (red) for metals and the 10W blue diode laser (blue) for other materials.
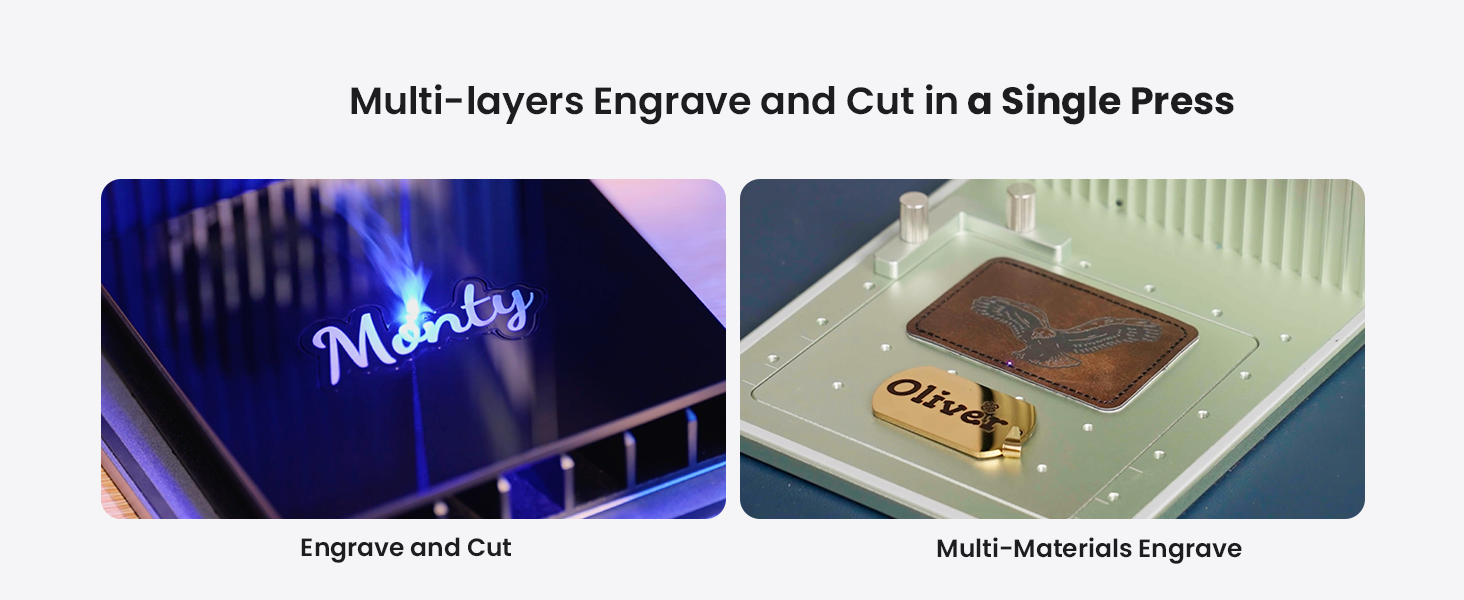
Image: A diverse collection of over 300 materials, including wood, acrylic, glass, aluminum, slate, and leather, demonstrating the xTool F1's engraving capabilities.
5.5 Expanding Working Area with Slide Extension
The xTool F1 can expand its working area for larger projects or batch processing.
- Standard Working Area: 115mm x 115mm.
- With Slide Extension: Expandable to 115mm x 400mm, allowing for 4 times the engraving area. This is ideal for batch processing multiple items simultaneously.

Image: The xTool F1 with its slide extension accessory, visually demonstrating the expansion of the engraving area from 115x115mm to 115x400mm.
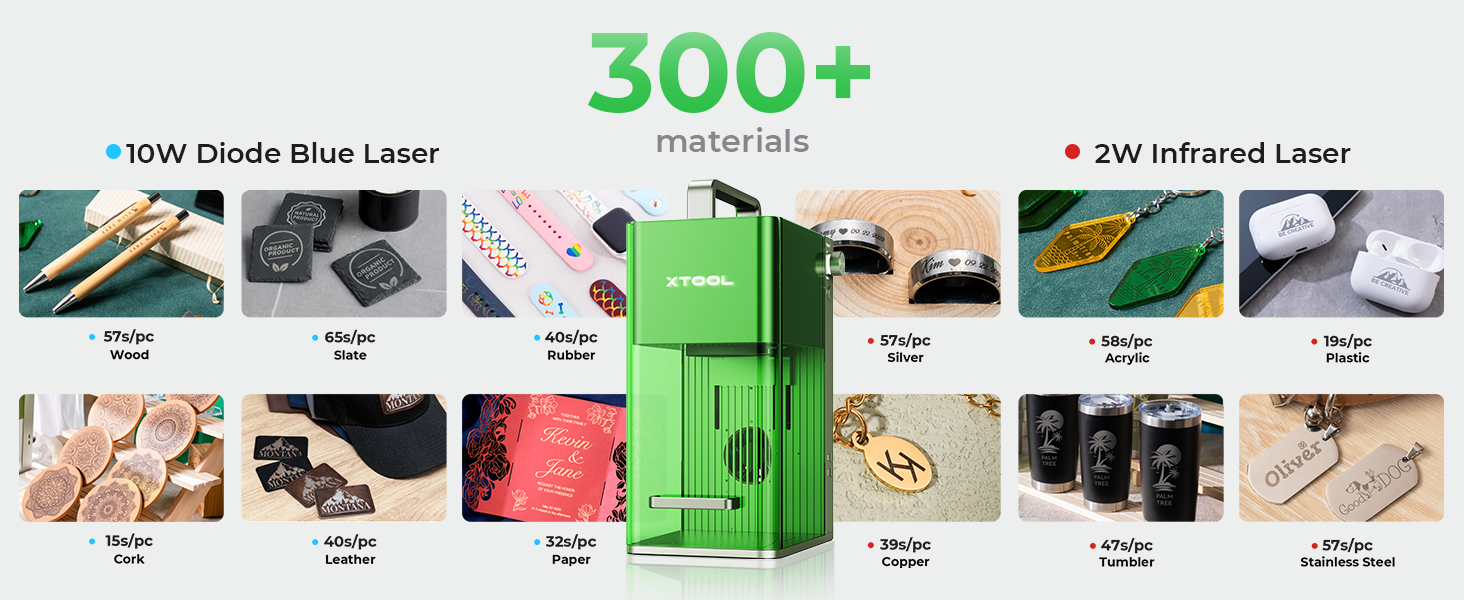
Image: The xTool F1 efficiently engraving multiple spoons in a single batch using the extended working area provided by the slide extension.
6. Kulawa
Regular maintenance ensures optimal performance and longevity of your xTool F1.
- Tsaftacewa: Regularly clean the interior of the machine, especially the lens and work area, to remove dust and debris. Use a soft, lint-free cloth and lens cleaning solution if necessary.
- Tace iska: If using an air purifier, regularly check and replace its filter as recommended by the manufacturer.
- Sabunta Firmware: Keep the device firmware and software updated to the latest versions for improved features and stability.
7. Shirya matsala
Wannan sashe yana magance batutuwan gama gari da zaku iya fuskanta.
| Matsala | Dalili mai yiwuwa | Magani |
|---|---|---|
| Laser ba harbi | Power cable loose; Emergency stop engaged; Software error; Laser module issue | Check power connections; Disengage emergency stop; Restart software/device; Contact support if issue persists. |
| Rashin ingancin zane-zane | Incorrect focus; Wrong material settings; Dirty lens; Material not flat | Adjust focus (auto/manual); Verify material settings in software; Clean laser lens; Ensure material is flat and secured. |
| Device not connecting to computer | USB cable issue; Driver not installed; Software conflict | Try a different USB port/cable; Reinstall drivers; Restart computer and device. |
For more detailed troubleshooting or issues not listed here, please refer to the official xTool support resources.
8. Ƙayyadaddun bayanai
| Siffar | Daki-daki |
|---|---|
| Samfura | xTool F1 |
| Nau'in Laser | 2W 1064nm Infrared Laser & 10W 455nm Blue Diode Laser |
| Gudun zane | Har zuwa 4000mm/s |
| Motion Accuracy | 0.00199mm ku |
| Standard Working Area | 115mm x 115mm |
| Expanded Working Area (with Slide Extension) | 115mm x 400mm |
| Cutting Capacity (Diode Laser) | Up to 10mm wood, 6mm acrylic |
| Nauyi | 4.6kg |
| Haɗuwa | USB |
| Software mai goyan baya | xTool Creative Space, LightBurn |
9. Garanti da Tallafawa
For detailed warranty information, product registration, and technical support, please visit the official xTool website ko tuntuɓi sabis na abokin ciniki kai tsaye. Ajiye rasidin siyan ku azaman shaidar siyan don da'awar garanti.
Albarkatun Kan layi:
- Official xTool Website: www.xtool.com
- Support Page: Refer to the website for FAQs, tutorials, and contact options.