Samfurin Ƙarsheview
This manual provides instructions for the Weiser Smart Key Deadbolt Double Cylinder K4, model GD9371X3BRK4SMTMS6LS2R2. This deadbolt features the SmartKey cylinder technology, designed for enhanced security and ease of rekeying.
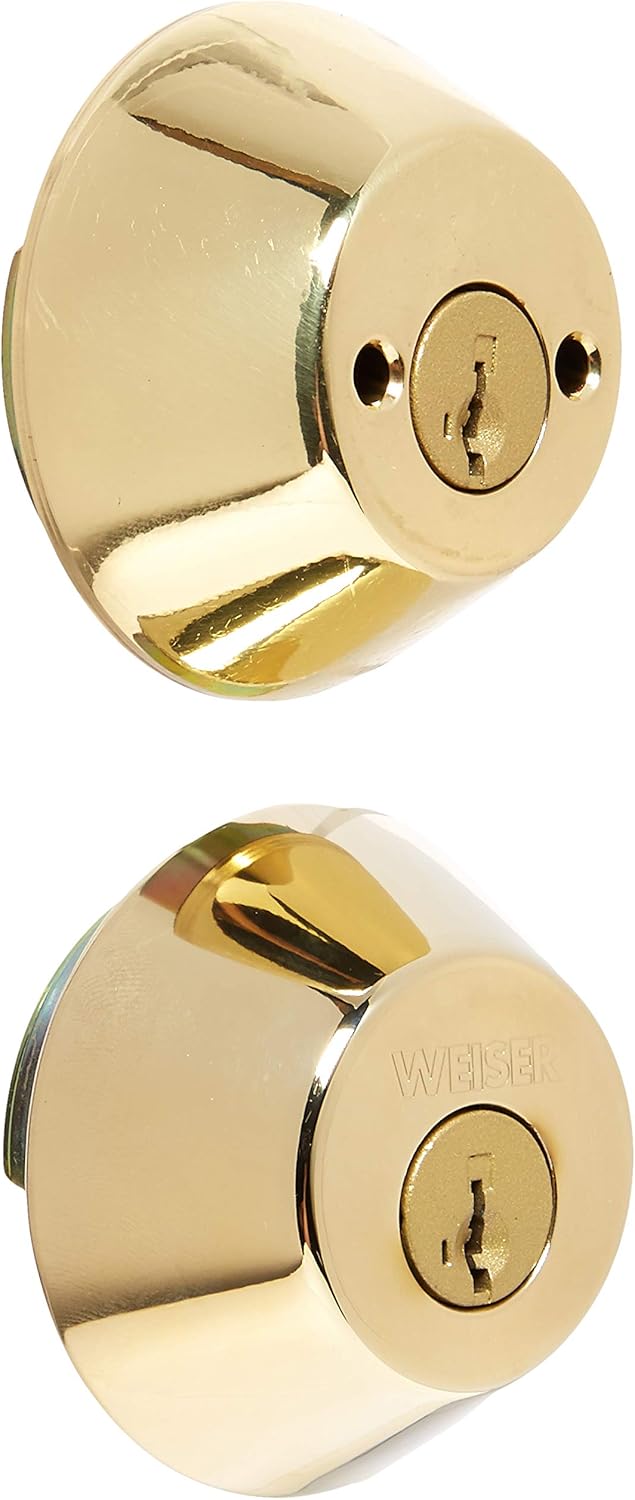
The SmartKey cylinder eliminates traditional pins and springs, offering instant rekeying functionality. It is engineered to be bump-resistant and highly pick-resistant. A rekeying learning tool is included with each lock, enabling the user to rekey the lock in three simple steps. This double cylinder deadbolt requires a key for activation from both the interior and exterior sides. It is designed to fit all standard doors and features a full 1-inch throw deadbolt with a 6-way latch mechanism.
Saita da Shigarwa
Proper installation is crucial for the optimal performance and security of your Weiser Smart Key Deadbolt. Ensure you have the necessary tools before beginning the installation process.
Kayayyakin da ake buƙata:
- Phillips shugaban sukudire
- Tef ɗin aunawa
- Fensir
Matakan Shigarwa:
- Shirya Ƙofar: Verify that your door has the correct bore holes and backset. This deadbolt fits standard doors.
- Sanya Latch: Insert the latch into the edge of the door. Ensure the latch bolt faces the correct direction (beveled edge towards the door frame). Secure with screws.
- Install the Exterior Cylinder: Place the exterior cylinder through the bore hole, ensuring the tailpiece aligns with the latch mechanism.
- Sanya Majalisar Cikin Gida: Position the interior assembly over the tailpiece and secure it to the exterior cylinder using the provided screws.
- Aikin Gwaji: Insert a key into both the exterior and interior cylinders and turn to ensure the deadbolt extends and retracts smoothly.
For detailed visual instructions, refer to the installation guide included in the product packaging.
Umarnin Aiki
The Weiser Smart Key Deadbolt is operated using a key from both sides of the door.
Locking the Deadbolt:
- Insert the key fully into the keyway on either the interior or exterior side of the deadbolt.
- Turn the key clockwise until the deadbolt bolt is fully extended into the door frame.
- Cire maɓallin.
Unlocking the Deadbolt:
- Insert the key fully into the keyway on either the interior or exterior side of the deadbolt.
- Turn the key counter-clockwise until the deadbolt bolt is fully retracted from the door frame.
- Cire maɓallin.
SmartKey Rekeying Functionality:
The SmartKey feature allows you to rekey your lock to a new key in seconds, providing convenience and enhanced security. This is particularly useful if you lose a key or wish to consolidate multiple locks to a single key.
- Insert Current Key: Insert your currently working key (the "old" key) fully into the deadbolt cylinder and turn it 90 degrees clockwise.
- Insert Rekeying Tool: While the old key is still turned, insert the SmartKey rekeying tool (included with the lock) into the small hole next to the keyway. Apply firm pressure until you feel a click.
- Remove Old Key: Remove the old key while keeping the rekeying tool inserted.
- Saka Sabon Maɓalli: Insert your new key (the key you wish to use from now on) fully into the cylinder.
- Remove Rekeying Tool: Remove the rekeying tool.
- Test New Key: Turn the new key 90 degrees counter-clockwise to return the cylinder to its original position. Test the new key by locking and unlocking the deadbolt several times. Ensure the old key no longer operates the lock.
Lura: The rekeying process permanently changes the lock's keying. Ensure you have the new key readily available before starting the process.
Kulawa
Regular maintenance ensures the longevity and smooth operation of your Weiser deadbolt.
- Tsaftacewa: Clean the exterior of the deadbolt with a soft, damp zane. Kauce wa masu goge-goge ko abubuwan kaushi wanda zai iya lalata ƙarshen.
- Lubrication: Periodically apply a small amount of graphite lubricant or a silicone-based lubricant specifically designed for locks into the keyway. Do not use oil-based lubricants as they can attract dirt and debris.
- Tsantsar Screw: Check mounting screws periodically and tighten if necessary to ensure the deadbolt remains securely fastened to the door.
Shirya matsala
If you encounter issues with your Weiser Smart Key Deadbolt, refer to the following common problems and solutions:
| Matsala | Dalili mai yiwuwa | Magani |
|---|---|---|
| Key does not insert or turn smoothly. | Debris in keyway, worn key, or lack of lubrication. | Clean keyway with compressed air. Try a new or spare key. Apply graphite or silicone lubricant to the keyway. |
| Deadbolt baya tsawa ko ja da baya sosai. | Misalignment of lock components, loose screws, or door/frame issues. | Check and tighten all mounting screws. Ensure the strike plate on the door frame is properly aligned with the deadbolt. Verify the door frame is not warped. |
| SmartKey rekeying fails. | Rekeying tool not fully inserted, old key not fully turned, or incorrect new key. | Ensure the old key is fully inserted and turned 90 degrees. Press the rekeying tool firmly until a click is felt. Use a new, uncut key for the rekeying process. |
If the problem persists after attempting these solutions, contact Weiser customer support for further assistance.
Ƙayyadaddun bayanai
- Alamar: Weiser
- Sunan Samfura: GD9371X3BRK4SMTMS6LS2R2
- Nau'in Kulle: Key Lock (Double Cylinder Deadbolt)
- Siffa ta Musamman: SmartKey Rekeying, Activating Lock (Keyed Entry on both sides)
- Abu: Brass
- Launi: Zinariya
- Nau'in Gama: goge
- Girman Abu (L x W x H): 4.5 x 8.9 x 3 inci
- Nauyin Abu: 1.16 fam
- UPC: 059184334807
- Sata: 6-way latch
- Deadbolt Throw: Full 1 inch
- Daidaituwa: Fits all standard doors
Garanti da Taimako
Weiser products are manufactured to the highest standards of quality and technology. For specific warranty information regarding your GD9371X3BRK4SMTMS6LS2R2 Smart Key Deadbolt, please refer to the warranty card included with your product packaging or visit the official Weiser website.
For technical support, troubleshooting assistance, or to inquire about replacement parts, please contact Weiser Customer Service:
- Website: www.weiserlock.com
- Waya: Koma ga hukuma webshafin don lambobin sadarwar yanki.
When contacting support, please have your product model number (GD9371X3BRK4SMTMS6LS2R2) and purchase date available.


