1. Gabatarwa
This manual provides detailed instructions for the installation, operation, and maintenance of your BSTUOKEY WiFi Fingerprint Access Controller, Model 20210310. This device is designed to provide secure access control using multiple authentication methods including fingerprint, RFID card, PIN code, and smartphone application. It features a durable, waterproof design suitable for various environments.
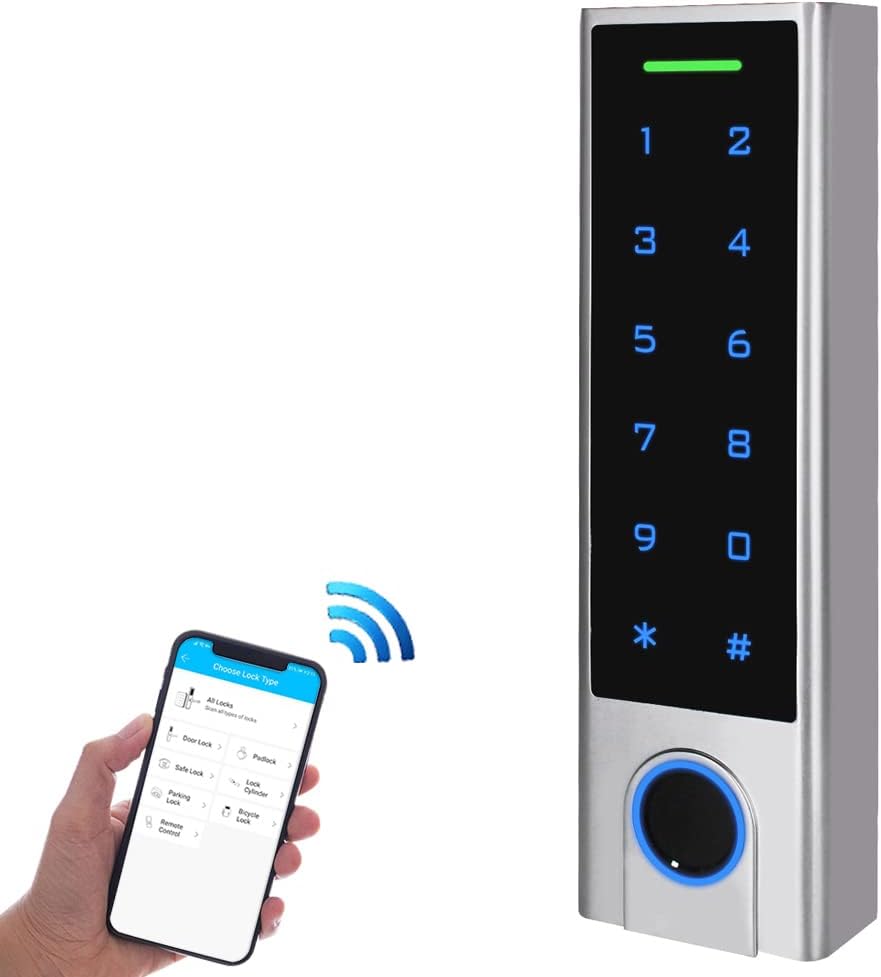
Image 1.1: BSTUOKEY WiFi Fingerprint Access Controller. The image shows the sleek silver keypad with a fingerprint sensor at the bottom and a smartphone wirelessly connected to it.
Keypad Components

Image 1.2: Labeled components of the access controller. Key features include an indicator light at the top, a touch keyboard for numbers and symbols, a card area, a metal case, and a fingerprint sensor at the bottom.
2. Kayan Samfura
- Zinc Alloy Electroplated anti-vandal case with a touchscreen interface.
- WiFi 2.4G/5G connectivity for remote access and management.
- Capacitive Fingerprint Sensor for biometric authentication.
- Supports 125Khz RFID EM Cards for card-based access.
- IP67 Waterproof rating, suitable for outdoor installation.
- Integrated with Tuya Mobile APP for iOS and Android devices.
- Supports up to 1000 hardware users and 100 APP users.
- Features relay output, exit button support, alarm, and door contact integration.
- Wiegand 26 input and output, allowing use as a standalone reader or keypad.
- Remote door opening and temporary password generation via Tuya App.
3. Abubuwan Kunshin
Tabbatar cewa duk abubuwan da aka jera a ƙasa suna cikin kunshin ku:

Image 3.1: Product list showing the access controller and included accessories. The package contains the access controller, user manuals, a master card, a Diode IN4004 for relay circuit protection, self-tapping screws, wall anchors, and a screwdriver.
- BSTUOKEY WiFi Fingerprint Access Controller
- User Manual(s)
- Master Card (for user management)
- Diode IN4004 (for relay circuit protection)
- Screws na Taɓa Kai
- Katangar bango
- Screwdriver
4. Saita
4.1 Shigarwa na Jiki
Before installation, ensure the power supply is disconnected. The device requires a 12V-18V DC power source.
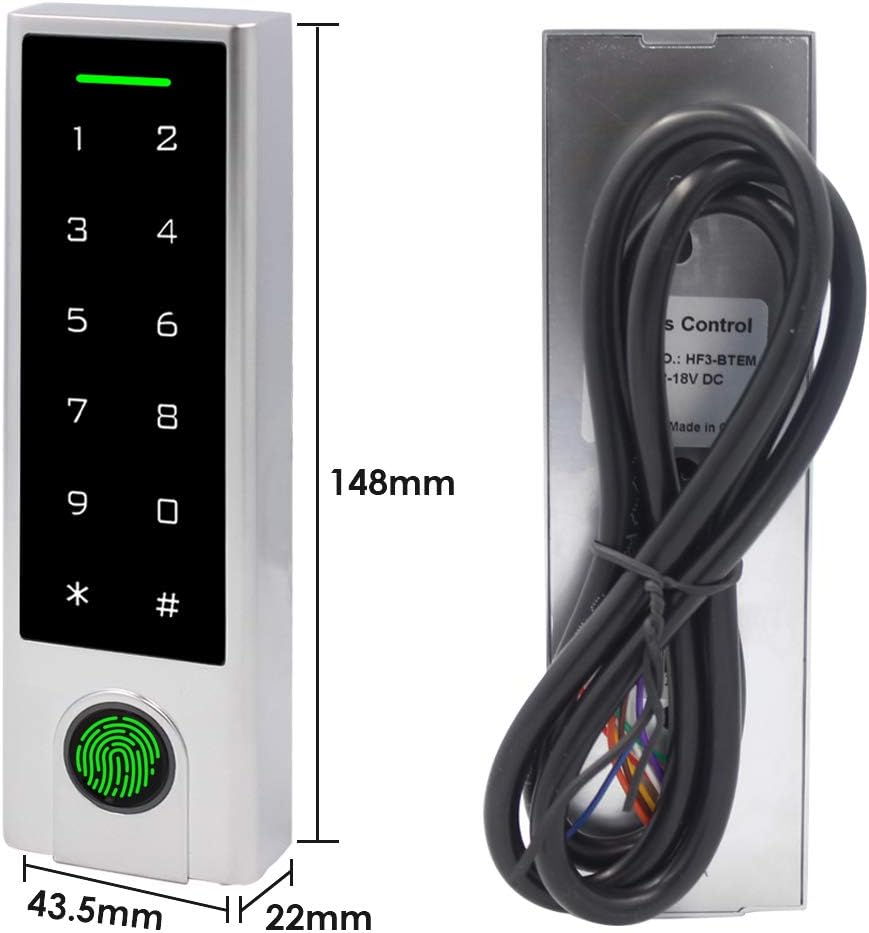
Image 4.1: Dimensions of the access controller. The device measures 148mm in height, 43.5mm in width, and 22mm in depth.
- Choose a suitable mounting location. The device is IP67 rated, allowing for outdoor installation.
- Drill holes for mounting screws and cable routing according to the device's backplate.
- Secure the backplate to the wall using the provided screws and wall anchors.
- Connect the wiring as per the diagram below. Ensure correct polarity and secure connections.

Hoto 4.2: Na baya view of the access controller showing the cable entry point and model information (HF3-BTEM, Input: 12-18V DC).

Image 4.3: Detailed wiring diagram for connecting the access controller to a power supply, electric lock (NO/NC), exit button, and doorbell. The diagram illustrates connections for 12V, GND, COM, NO, and NC terminals.
4.2 Tuya App Setup
The BSTUOKEY Access Controller integrates with the Tuya Smart app for remote management and control.

Image 4.4: The access controller shown alongside a smartphone displaying the Tuya app interface, indicating support for Tuya integration.
- Download the 'Tuya Smart' app from the App Store (iOS) or Google Play Store (Android).
- Yi rijista ko shiga cikin asusun Tuya Smart ɗinku.
- Ensure the access controller is powered off.
- Open the Tuya Smart app on your smartphone.
- Power on the access controller. The device should appear in the app for pairing. Follow the on-screen instructions in the app to complete the pairing process.
- If prompted, connect the device to your WiFi network.
4.3 Initial Programming (Master Card)
The Master Card is used to add or delete other users (fingerprints, cards, PINs).
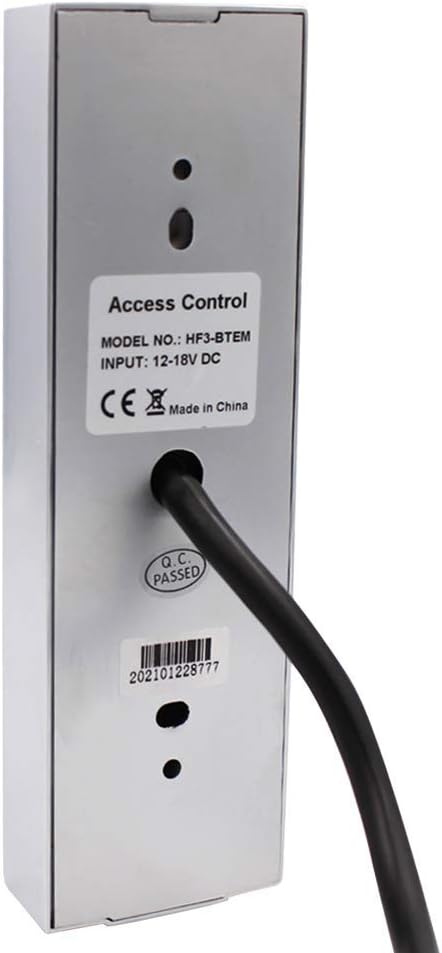
Image 4.5: Flowchart illustrating the process of adding users using the Master Card. It shows reading the Master Card, then reading the user's card/PIN/fingerprint (3 times), and finally reading the Master Card again to confirm.
- Present the Master Card to the access controller's card area. The indicator light will change, signaling entry into programming mode.
- To add a user: Present the new user's RFID card, enter their PIN, or scan their fingerprint (three times for fingerprint enrollment).
- Present the Master Card again to exit programming mode and save the new user.
5. Umarnin Aiki
5.1 Access Modes
The access controller supports multiple methods for unlocking:

Image 5.1: Depiction of the four primary access modes: Smartphone unlocked (via app), PIN unlocked (entering code on keypad), Fingerprint unlocked (using the sensor), and Card unlocked (presenting an RFID card).
- Smartphone (Tuya App): Open the Tuya Smart app, select the access controller, and tap the unlock button.
- Lambar PIN: Enter your registered PIN code on the touch keypad, followed by the '#' key.
- Wurin yatsa: Sanya yatsanka mai rijista akan firikwensin sawun yatsa.
- Katin RFID: Present your registered 125Khz EM Card to the card area on the keypad.
5.2 User Management via Tuya App
The Tuya Smart app allows for convenient management of users and access records.

Image 5.2: Screenshots illustrating the Tuya App's capabilities for adding/deleting users and viewing opening records. The app provides a list of access events.
- Ƙara Masu Amfani: In the Tuya Smart app, navigate to the device settings and select 'Add User'. Follow the prompts to enroll new fingerprints, cards, or PINs.
- Goge Masu Amfani: From the app, select 'Delete User' and choose the specific user to remove.
- Viewing Opening Records: The app provides a log of all access events, including who accessed and when.
5.3 Ikon Nesa
With WiFi connectivity, the access controller can be managed remotely through the Tuya Smart app.

Image 5.3: Diagram showing remote control capabilities. The access controller is connected via WiFi to a smartphone running the Tuya app, allowing remote door opening or temporary password generation.
- Buɗe Nesa: Unlock the door from anywhere using the Tuya Smart app, provided the device is connected to WiFi.
- Kalmomin sirri na wucin gadi: Generate temporary PIN codes for guests or service personnel, which can be time-limited or single-use.
6. Kulawa
Regular maintenance ensures optimal performance and longevity of your access controller.
- Tsaftacewa: Wipe the keypad and fingerprint sensor with a soft, damp zane. Kauce wa masu goge-goge ko abubuwan kaushi wanda zai iya lalata saman.
- Kariyar Muhalli: While the device is IP67 waterproof, prolonged exposure to extreme weather conditions (e.g., direct heavy rain, extreme temperatures) should be minimized if possible to extend its lifespan.
- Duban haɗi: Periodically inspect wiring connections to ensure they are secure and free from corrosion.
- Sabunta software: Check the Tuya Smart app regularly for any available firmware updates for the access controller to ensure you have the latest features and security enhancements.
7. Shirya matsala
Wannan sashe yana magance batutuwan gama gari da zaku iya fuskanta.
- Issue: Device does not pair with Tuya Smart app.
- Magani: Ensure the device is powered off, then open the Tuya Smart app. Power the device back on. The app should detect the device for pairing. Also, verify your smartphone's Bluetooth is enabled and the device is within range. Ensure your WiFi network is 2.4GHz, as some devices may not support 5GHz for initial setup.
- Issue: Persistent beeping from the device.
- Magani: This may indicate an anti-theft alarm or a tamper alert. Check if the device has been tampered with or if the backplate is not securely fastened. Refer to the full user manual (if provided separately) for specific alarm codes or settings to disable/adjust the anti-theft feature.
- Issue: Fingerprint or RFID card not recognized.
- Magani: Ensure your finger is clean and dry when using the fingerprint sensor. For RFID cards, ensure the card is correctly presented to the card area. Verify that the fingerprint or card has been properly enrolled in the system (refer to Section 4.3 and 5.2).
- Issue: Keypad is unresponsive.
- Magani: Check the power supply to the device. Ensure all wiring connections are secure. If the issue persists, try power cycling the device (disconnect and reconnect power).
8. Ƙayyadaddun bayanai
- Lambar Samfura:
- 20210310
- Alamar:
- BSTUOKEY
- Abu:
- Glass panel, Zinc alloy
- Nau'in Nuni:
- Kariyar tabawa
- Voltage:
- 12-18V DC
- Nauyin Abu:
- 14.1 oganci (0.4 Kilogram)
- Girman Kunshin:
- 6.26 x 2.83 x 2.44 inci
- User Capacity (Hardware):
- 1000
- User Capacity (APP):
- 100
- Nau'in Kati:
- 125Khz RFID EM Card
- Ƙididdiga mai hana ruwa:
- IP67
- Abubuwan da aka haɗa:
- faifan maɓalli
9. Garanti da Tallafawa
For warranty information or technical support, please contact the BSTUOKEY customer service directly. Refer to the product packaging or the seller's webshafin don cikakkun bayanai.
You can also visit the official BSTUOKEY store for additional product information and support resources: BSTUOKEY Store