Gabatarwa
This manual provides detailed instructions for the installation, operation, and maintenance of your AXAGON ADSA-ST USB 3.0 Docking Station. This device is designed to connect 2.5" and 3.5" SATA SSDs and HDDs to your computer via a USB 3.0 interface, offering fast data transfer speeds.
Da fatan za a karanta wannan jagorar sosai kafin amfani da samfurin don tabbatar da ingantaccen aiki da kuma hana lalacewa.
Abubuwan Kunshin
Tabbatar cewa duk abubuwan da aka gyara suna nan a cikin kunshin:
- AXAGON ADSA-ST Docking Station
- USB 3.0 Type-A to Micro-B cable
- Adaftar Wuta
- Jagorar mai amfani (wannan takaddar)

Image: The AXAGON ADSA-ST Docking Station shown alongside its retail packaging, illustrating the product and its box.
Mabuɗin Siffofin
- Supports 2.5" and 3.5" SATA I/II/III SSDs and HDDs.
- USB 3.0 (USB 3.2 Gen 1) interface with up to 5 Gbps transfer speed.
- SATA 6G (SATA III) support.
- UASP (USB Attached SCSI Protocol) support for enhanced performance.
- TRIM support for SSDs.
- HDD Auto Spindown function.
- LED indication for power and activity.
- Compact design with aluminum body.

Hoto: A view of the AXAGON ADSA-ST Docking Station highlighting its 5 Gbps USB 3.2 Gen 1 speed and compact size.
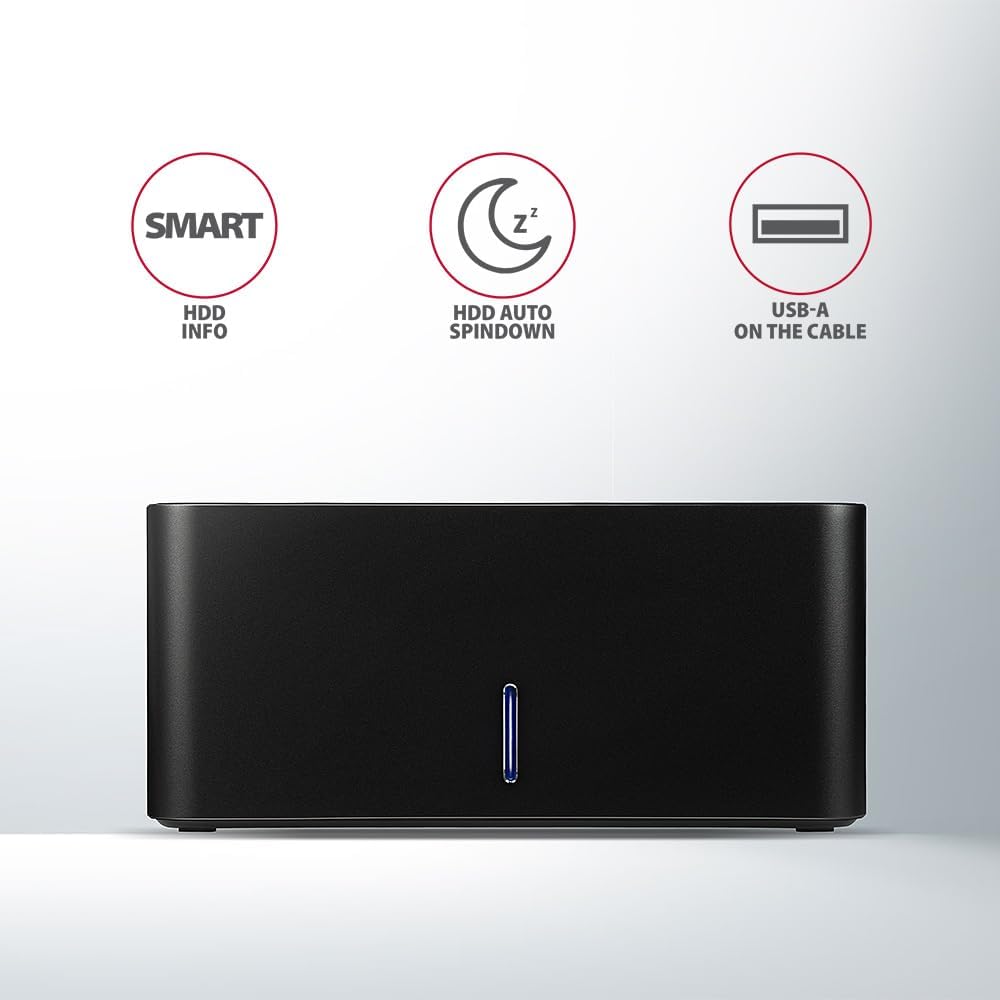
Image: The docking station from the front, indicating features like SMART HDD info, automatic HDD spindown, and USB-A connectivity.
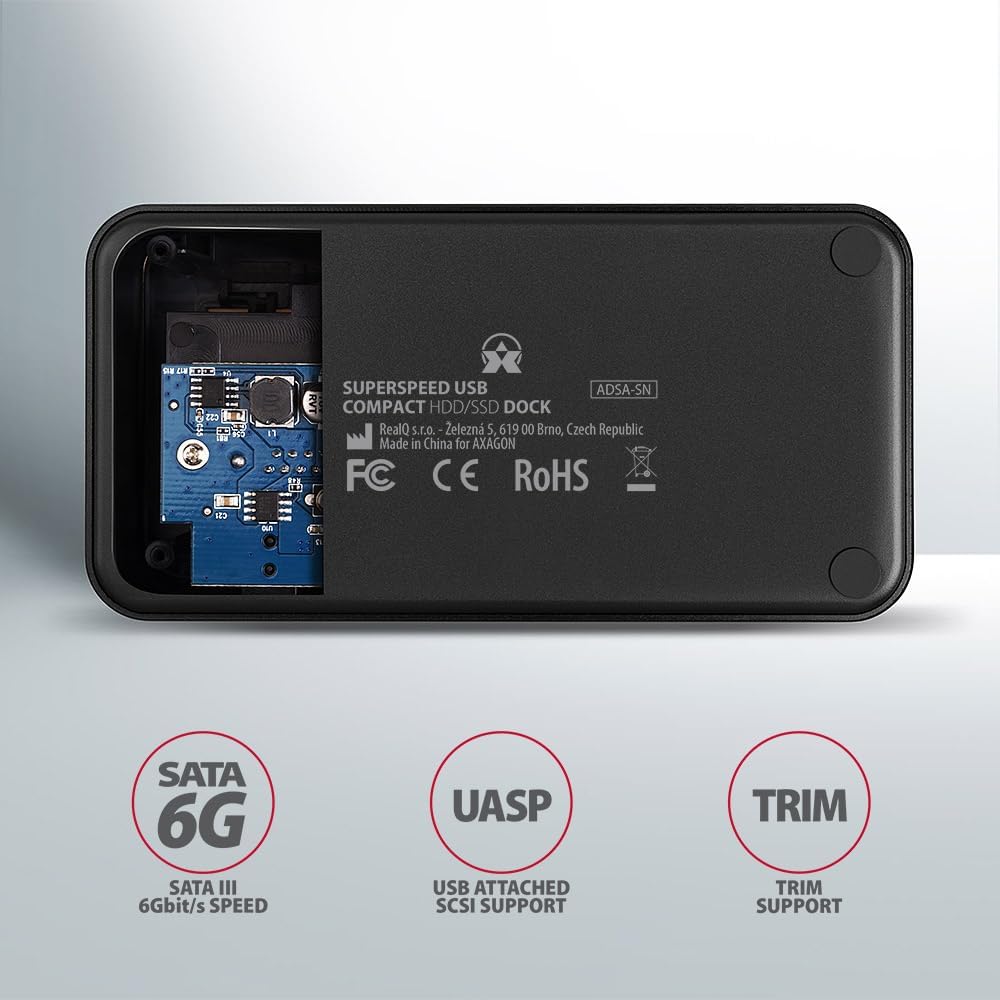
Image: The underside of the docking station, showing internal components and highlighting SATA 6G, UASP, and TRIM support.
Saita Umarnin
- Haɗa Adaftar Wuta: Plug the included power adapter into the DC IN port on the back of the docking station and then into a power outlet.
- Haɗa zuwa Kwamfuta: Connect the USB 3.0 cable from the docking station's Micro-B port to an available USB 3.0 (or higher) port on your computer.
- Insert HDD/SSD:
- For 2.5" SSD/HDD: Gently slide the 2.5" drive into the slot until it connects firmly with the SATA connector.
- For 3.5" HDD: Gently slide the 3.5" drive into the slot until it connects firmly with the SATA connector.
Ensure the drive is inserted correctly with the SATA connector facing the correct direction. Do not force the drive.

Image: A 2.5-inch SSD being inserted into the docking station, demonstrating compatibility with smaller drives.
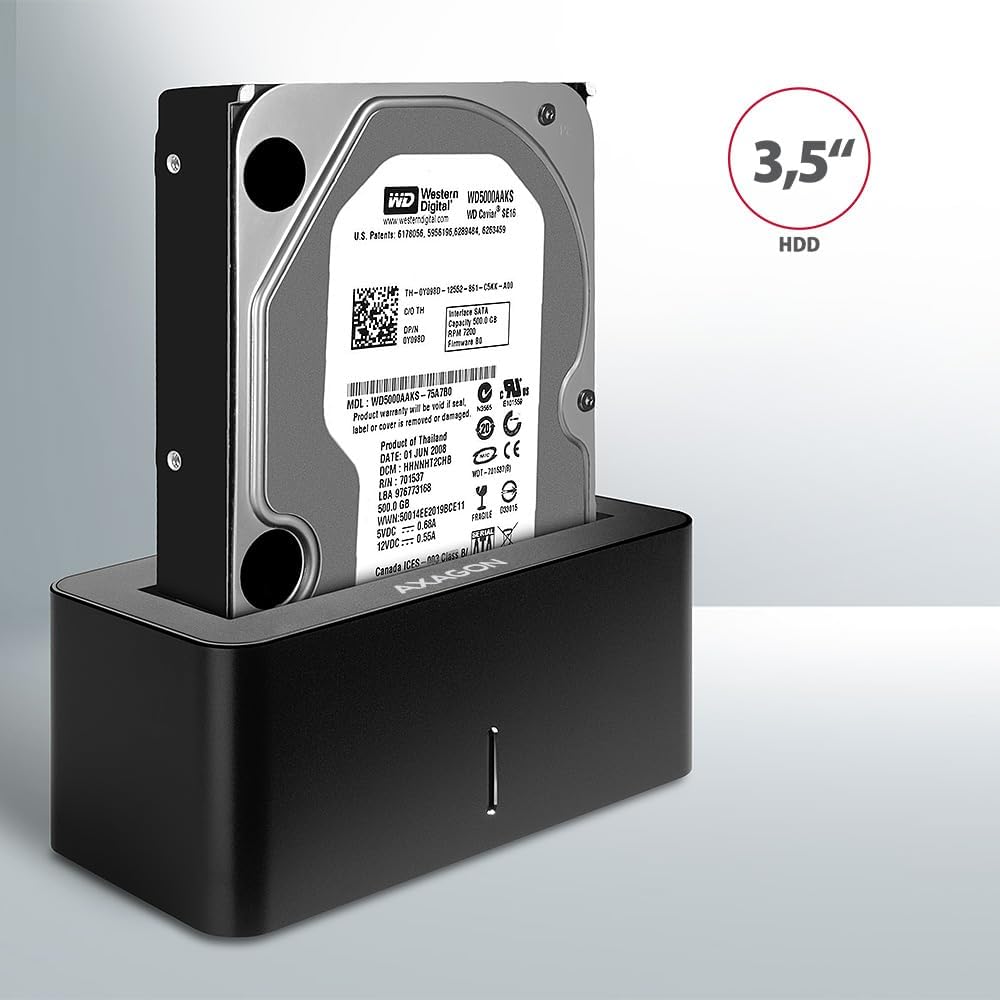
Image: A 3.5-inch HDD being inserted into the docking station, demonstrating compatibility with larger drives.
- Kunna Wuta: Press the power button located on the back of the docking station. The LED indicator on the front will illuminate.
Image: The rear panel of the docking station, showing the power button, USB Micro-B port, and power input for connection.
Umarnin Aiki
Drive Recognition
Once powered on and connected, your operating system should automatically detect the inserted drive. If it's a new drive, you may need to initialize and format it through Disk Management (Windows) or Disk Utility (macOS) before it appears in File Explorer/Finder.
Alamar LED
The LED indicator on the front of the docking station provides status information:
- M Blue: Power on, drive idle.
- Blue mai walƙiya: Drive activity (reading or writing data).
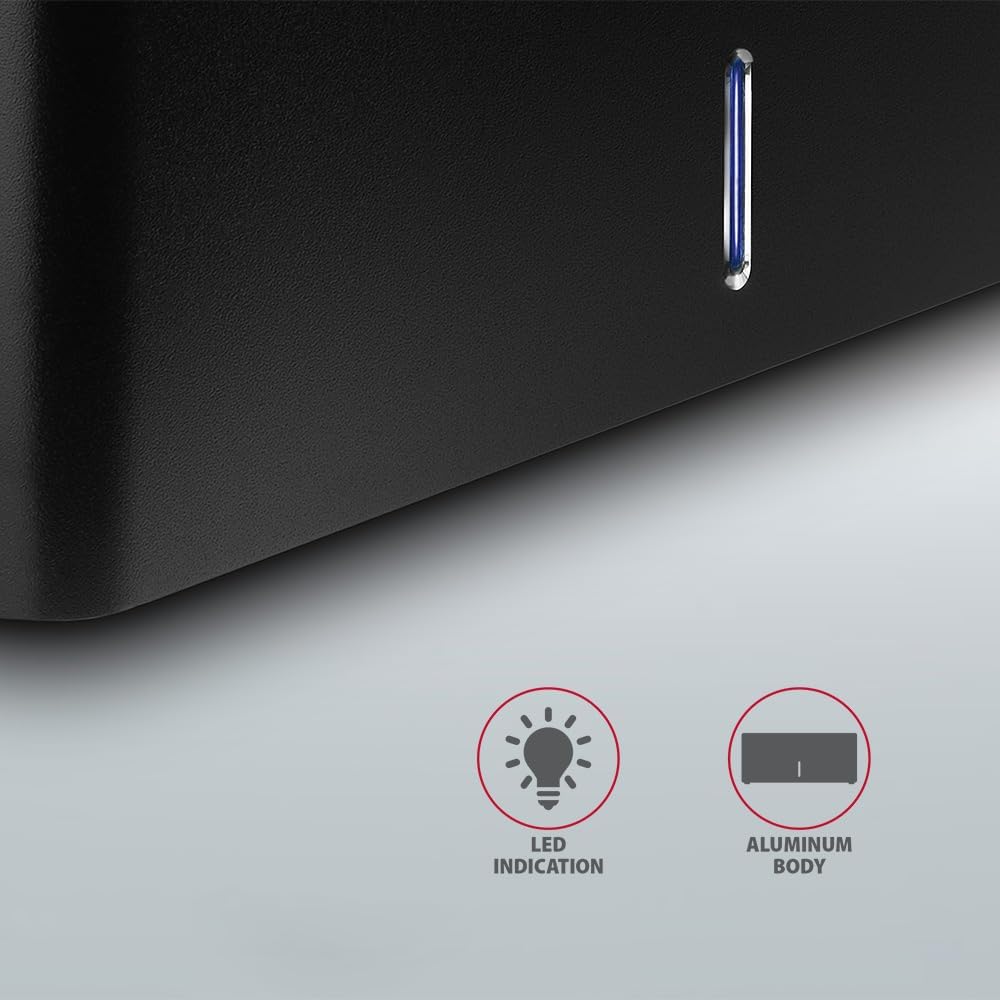
Hoto: Kusanci view of the docking station's front panel, highlighting the LED indicator light.
Removing a Drive
Before removing a drive, always safely eject it from your operating system to prevent data corruption. After ejection, gently pull the drive straight out of the docking station slot.
Saukewa ta atomatik na HDD
The docking station supports automatic spindown of the HDD when it is idle for a certain period, conserving power and extending drive lifespan. This feature is managed by the operating system or the drive itself.
Kulawa
- A tsaftace wurin ajiye jiragen ruwa kuma a kiyaye su daga ƙura. A yi amfani da zane mai laushi da busasshe don tsaftacewa.
- Ka guji fallasa na'urar zuwa matsanancin zafi, zafi, ko hasken rana kai tsaye.
- Kada kayi ƙoƙarin kwance ko gyara na'urar da kanka. Koma zuwa ƙwararrun ma'aikatan sabis.
- Ensure proper ventilation around the docking station during operation.
Shirya matsala
- Ba a gano na'urar tuƙi ba:
- Ensure the power adapter is securely connected and the docking station is powered on.
- Verify the USB cable is properly connected to both the docking station and the computer.
- Gwada wani tashar USB na daban akan kwamfutarka.
- Ensure the HDD/SSD is fully seated in the docking station's slot.
- Check Disk Management (Windows) or Disk Utility (macOS) to see if the drive is recognized but uninitialized/unformatted.
- Test with a different HDD/SSD to rule out a drive issue.
- Saurin canja wuri a hankali:
- Ensure the docking station is connected to a USB 3.0 (or higher) port on your computer. USB 2.0 ports will limit speeds.
- Tabbatar cewa tsarin aikinka da direbobinka suna da sabuntawa.
- The actual speed depends on the drive's performance and your computer's USB controller.
- Drive yana cire haɗin bazuwar:
- Duba duk haɗin kebul.
- Ensure the power adapter is providing stable power.
- Disable USB power saving features in your computer's operating system settings.
Ƙididdiga na Fasaha
| Siffar | Daki-daki |
|---|---|
| Alamar | AXAGON |
| Lambar Samfura | ADSA-SN |
| Platform Hardware | PC |
| Na'urori masu jituwa | Laptop, Desktop PC |
| Daidaituwar Drive | 2.5" / 3.5" SATA I/II/III SSD/HDD |
| Interface | USB 3.0 (USB 3.2 Gen 1) |
| Yawan Canja wurin Bayanai | Up to 5 Gbps (USB 3.0), 6 Gbps (SATA III) |
| Jimillar tashoshin jiragen ruwa na USB | 1 (Micro-B) |
| Adadin Tuba | 1 |
| Launi | Baki |
| Nauyin Abu | 2.2 fam (kimanin 1 kg) |
| Girman Kunshin | 3.94 x 0.79 x 0.39 inci (kimanin. 10 x 2 x 1 cm) |
| Kwanan Wata Farko Akwai | Maris 30, 2021 |
Garanti da Taimako
Don bayanan garanti da tallafin fasaha, da fatan za a koma zuwa AXAGON na hukuma website ko tuntuɓi mai rarrabawa na gida. Ajiye shaidar siyan ku don da'awar garanti.


