1. Samfurin Ya Ƙareview
The NIVIAN 2K WiFi CCTV Surveillance Kit provides comprehensive 24/7 security with advanced features for monitoring homes, offices, shops, and warehouses. This kit includes 4 WiFi IP cameras and a professional 10-channel Network Video Recorder (NVR) with a pre-installed 1TB hard drive.
Mabuɗin fasali:
- 2K Super HD Resolution: Offers clear and detailed 3MP images for effective surveillance.
- Babban Hangen Dare: Dual modes include infrared for discreet monitoring and integrated white LEDs for full-color images in complete darkness, aiding in identification.
- Ganewar Dan Adam: Utilizes artificial intelligence to differentiate human movements from other triggers (animals, objects, shadows), significantly reducing false alarms.
- Audio Hanyoyi Biyu: Each camera features built-in two-way audio, allowing for real-time listening and speaking, useful for communication and deterring intruders.
- Continuous & Remote Recording: Supports 24/7 continuous or event-only recording, saved to the included 1TB HDD. Remote access to live views and recordings is available via the EseeCloud app.
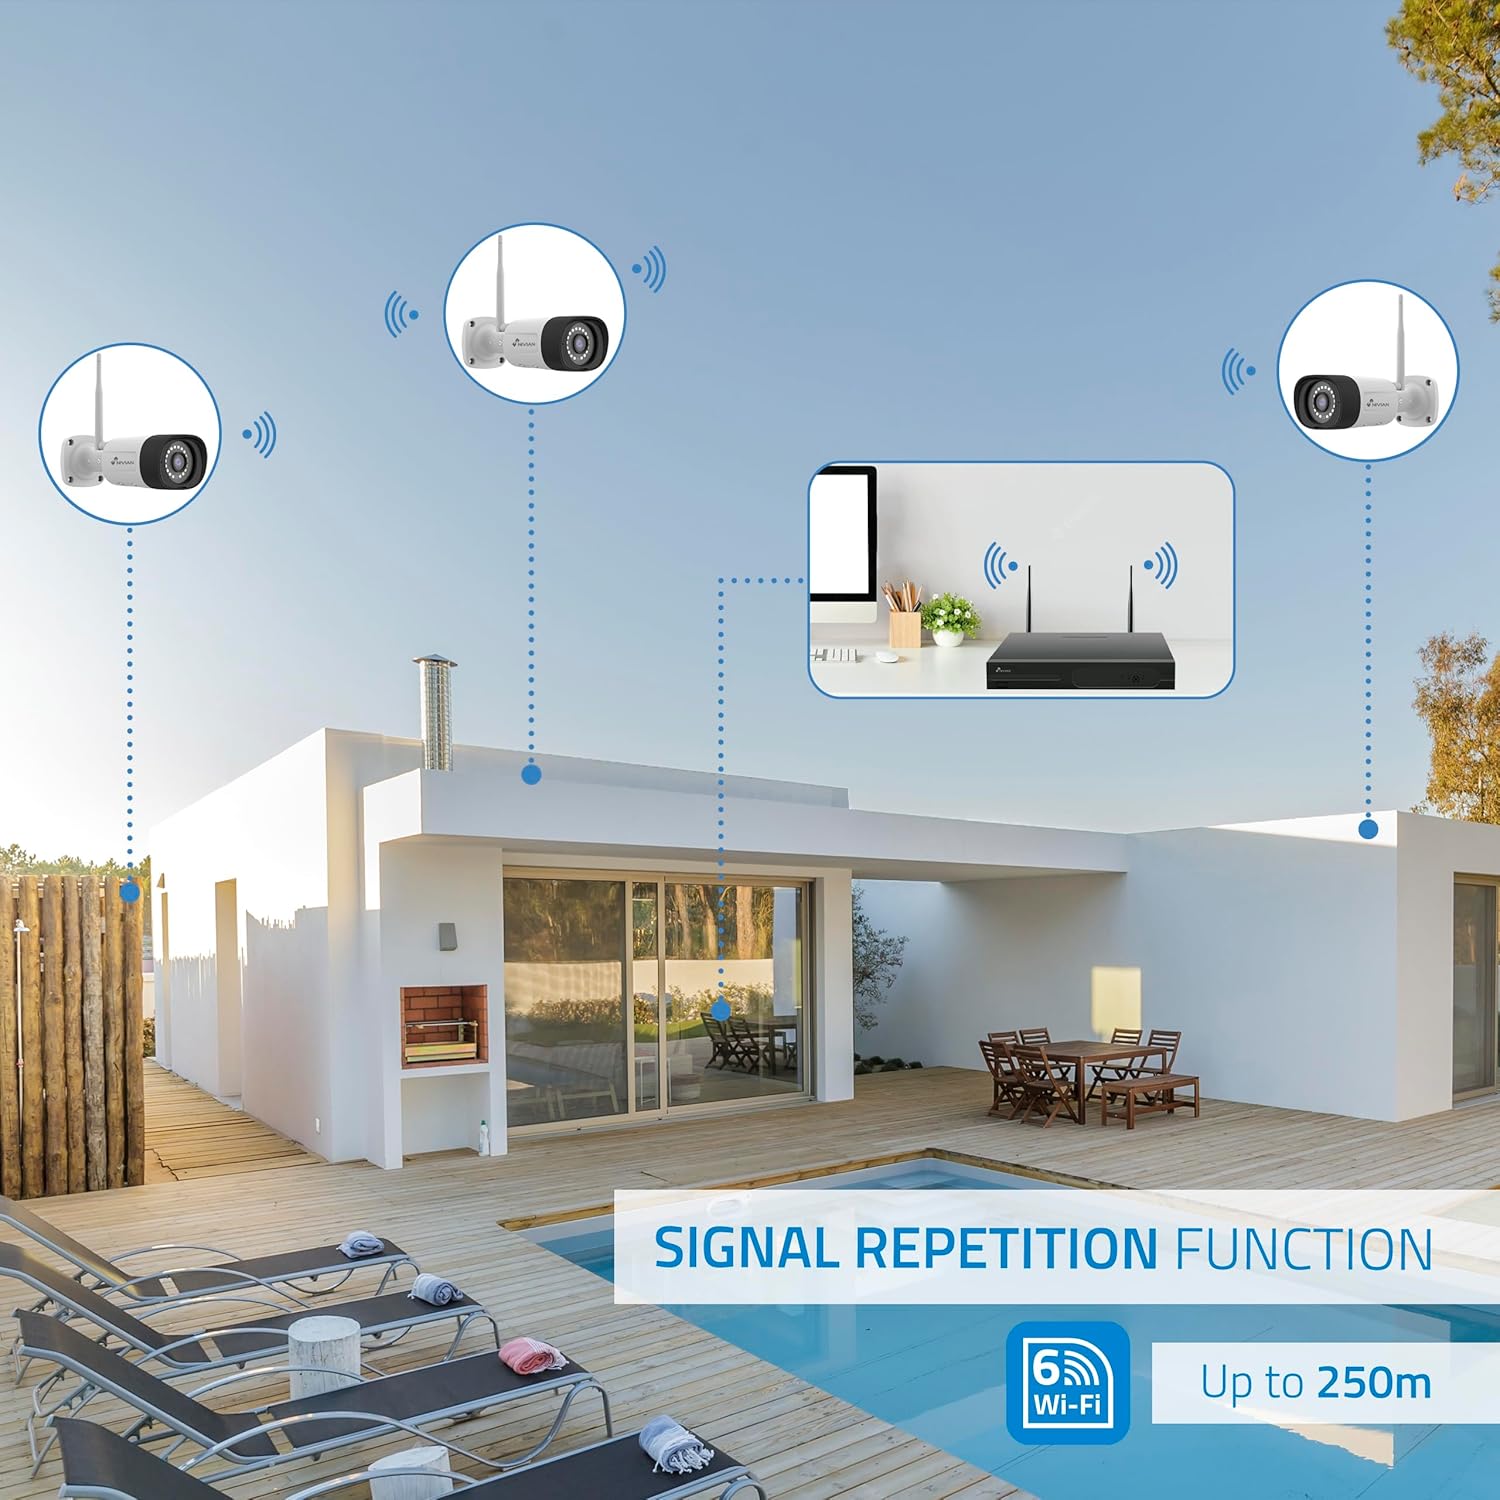
- Long-Range WiFi & Easy Installation: WiFi-6 technology ensures stable connections up to 250 meters between cameras and the NVR, with a repeater function for extended coverage. Installation is guided step-by-step via the app.
- Zane Mai Dorewa: IP66-rated metal-bodied cameras are designed to withstand rain, dust, and harsh outdoor conditions.
2. Abin da ke cikin Akwatin
Carefully unpack the contents and ensure all items are present and in good condition. The kit typically includes the following components:

Hoto: Overview of the NIVIAN 2K WiFi CCTV Surveillance Kit components.

Hoto: Dalla-dalla view of the kit contents, including the NVR and cameras.
- 1x 10-Channel NVR (Network Video Recorder)
- 4x 2K Super HD WiFi IP Cameras
- 1x 1TB Hard Disk Drive (pre-installed in NVR)
- 5x Power Adapters (one for NVR, four for cameras)
- 1 x USB Mouse
- 1 x Ethernet Cable
- Mounting Screws and Plugs for Cameras
- Waterproof Connectors for Outdoor Camera Cables
- User Manual and Software CD
3. Saita da Shigarwa
3.1 NVR Installation
The NVR is the central recording unit for your surveillance system. Follow these steps to set it up:
- Connect the NVR to a monitor or TV using an HDMI cable.
- Connect the USB mouse to one of the NVR's USB ports.
- Connect the NVR to your router using the provided Ethernet cable for network access.
- Connect the NVR power adapter to the NVR and plug it into a power outlet. The NVR will power on and begin initialization.
3.2 Hard Disk Drive (HDD) Installation (Optional, if not pre-installed)
If your NVR did not come with a pre-installed HDD, follow these steps to install it:
- Unplug the NVR from power.
- Remove the screws on the NVR's cover and carefully slide it open.
- Align the HDD with the mounting holes inside the NVR chassis.
- Secure the HDD with the provided screws.
- Connect the SATA data cable and power cable from the NVR to the HDD.
- Replace the NVR cover and secure it with the screws.
3.3 Shigowar Kyamara
The cameras are designed for both indoor and outdoor use (IP66 rated). Plan your camera placement to maximize coverage and signal strength.
Hoto: Example of camera installation on an exterior wall.
- Choose a mounting location that provides the desired viewing angle and is within the NVR's WiFi range (up to 250m, extendable with repeater function).
- Use the provided mounting screws and plugs to securely attach the camera to the wall or ceiling.
- For outdoor installations, use the waterproof connectors to protect the cable connections from environmental elements.
- Connect each camera to its respective power adapter and plug it into a power outlet.
- The cameras will automatically pair with the NVR.
4. Tsarin Tsarin
4.1 NVR Initial Setup
Once the NVR powers on and connects to the monitor, follow the on-screen prompts using the USB mouse:
- Zaɓi Harshe: Choose your preferred system language.
- Saita hanyar sadarwa: Confirm a 'Healthy Network' status. If using WiFi, configure your home WiFi router settings.
- Kwanan wata da Lokaci: Set the correct date, time, and time zone. Enable 'Automatically set time' if available.
- Gudanar da Ajiya: Verify the 1TB HDD is recognized and formatted.
- Rayuwa View: Confirm that all connected cameras are displaying live video feeds.
- Saita Kalmar wucewa: Create a strong password (6 to 19 characters) for the NVR. This password will be required for app binding.
4.2 EseeCloud App Setup
The EseeCloud app allows remote access and control of your surveillance system.

Image: EseeCloud app interface on a smartphone.
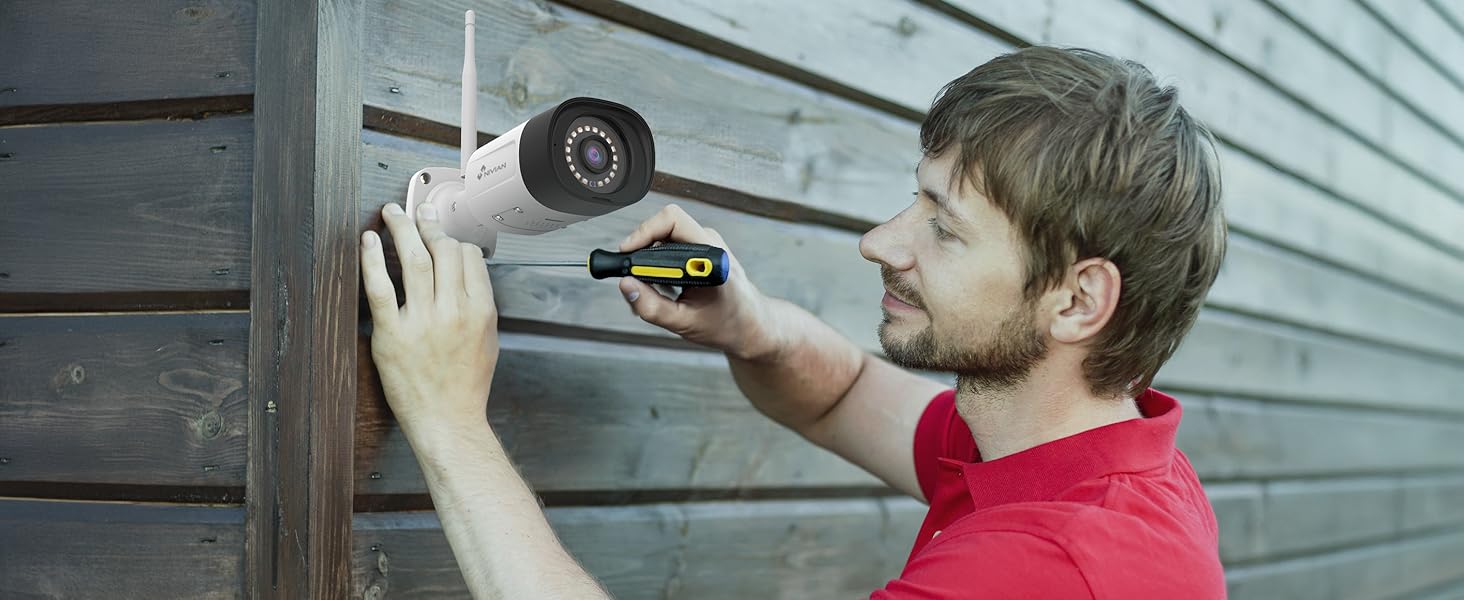
Image: EseeCloud app available on mobile and desktop platforms.
- Download the EseeCloud app from your device's app store (available for iOS, Android, and PC).
- Register for an account if you don't have one.
- Scan the QR code displayed on the NVR's monitor (or device body) to add your surveillance system to the app.
- Follow the in-app instructions to complete the device binding and configuration.
5. Umarnin Aiki
5.1 Rayuwa View da sake kunnawa
Access live camera feeds and review rubuce footage through the NVR connected to a monitor or via the EseeCloud app.
- NVR Interface: Use the USB mouse to navigate the NVR menu. Select 'Split screen' to view multiple cameras simultaneously or 'Playback' to review rikodin.
- EseeCloud App: Open the app to see live feeds from all connected cameras. Use the playback function to access recorded events.
5.2 AI Human Detection
The system's AI human detection minimizes false alarms by focusing on human shapes.
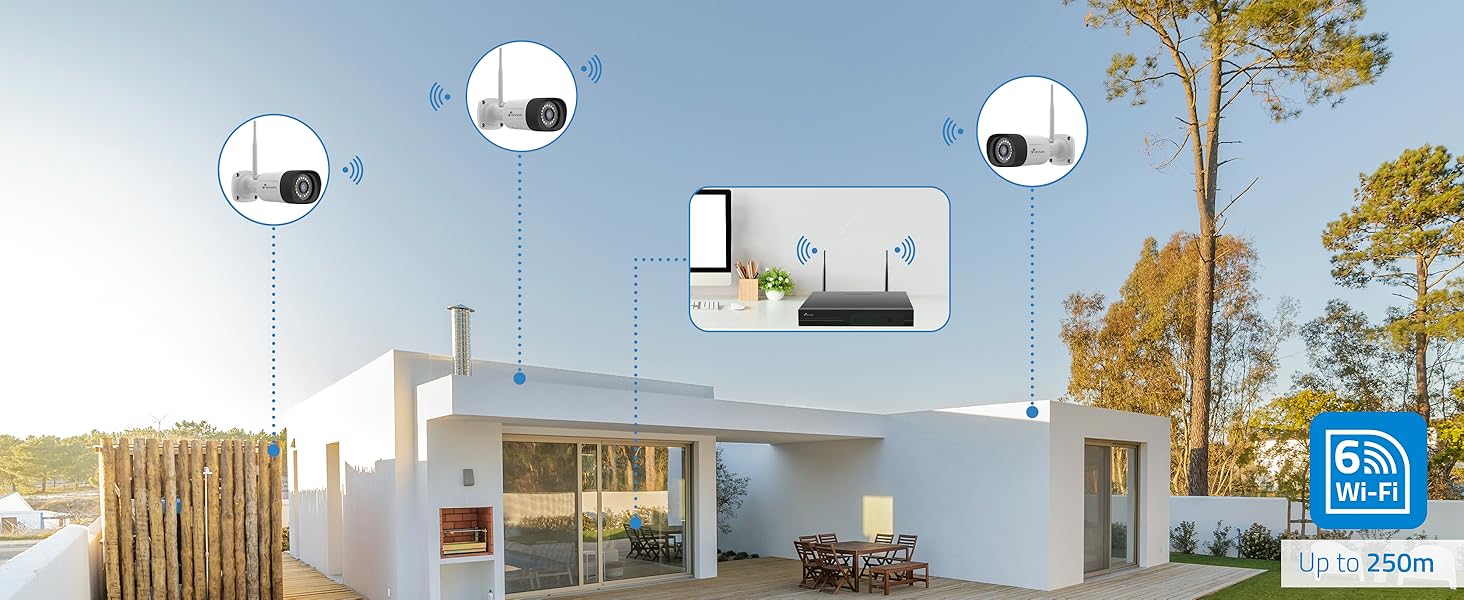
Image: AI human detection in action, highlighting a person and providing illumination.
- Configure detection zones and sensitivity settings within the NVR or app.
- Receive instant notifications on your smartphone when human motion is detected.
5.3 Hanyoyin Hangen Dare
Choose between infrared or full-color night vision based on your surveillance needs.
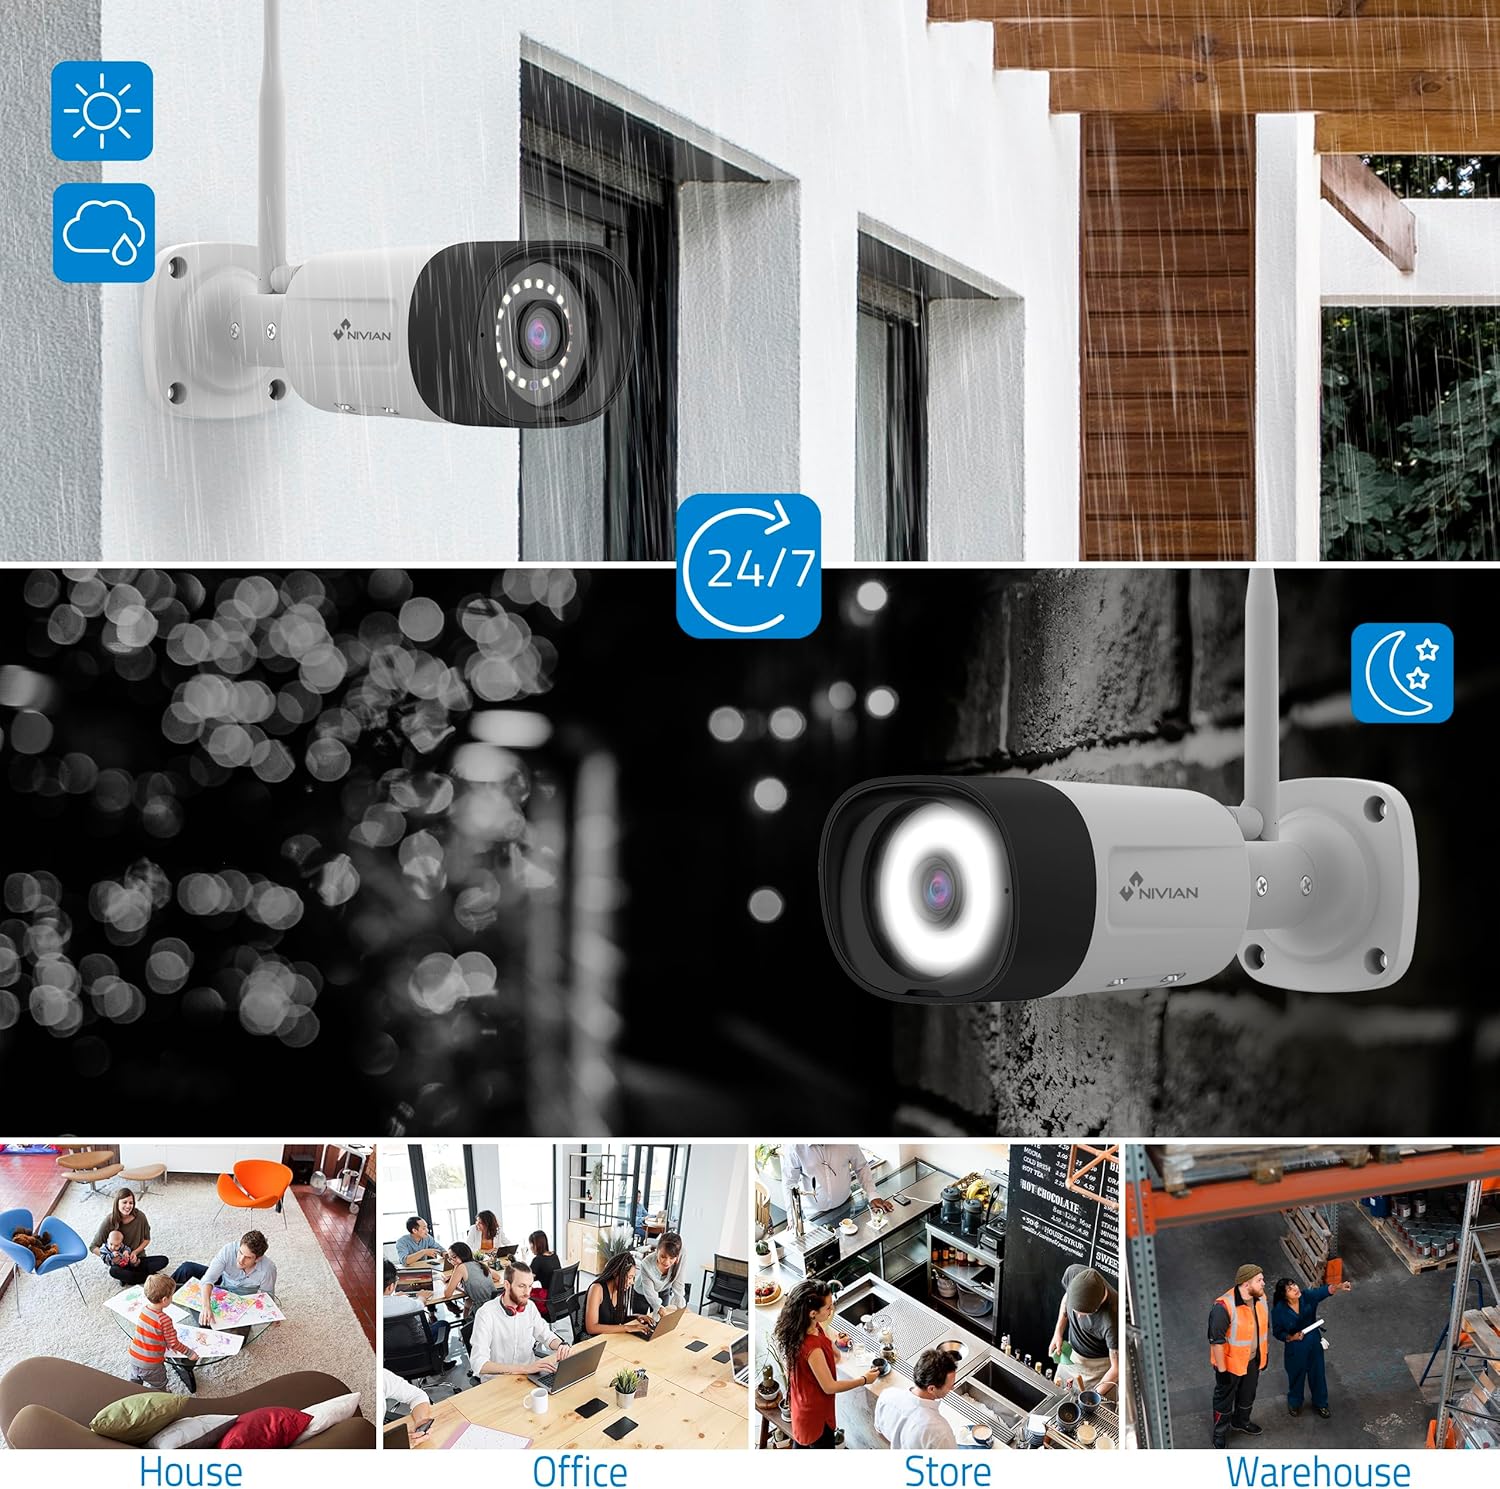
Image: Comparison of infrared (black and white) and color night vision.
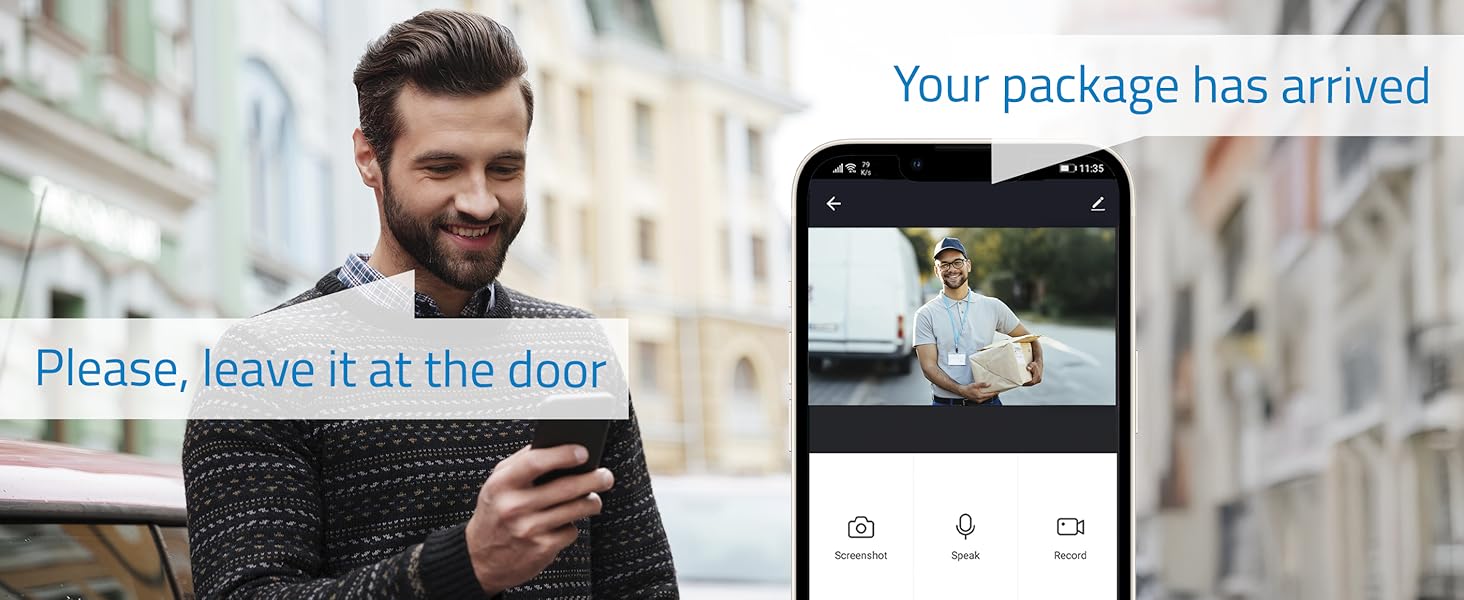
Image: Outdoor camera providing clear 24/7 surveillance, including night vision.
- Switch between modes via the NVR interface or EseeCloud app.
- Color night vision is activated by the camera's white LEDs, providing clearer details.
5.4 Sauti Mai Hanya Biyu
Communicate directly through the cameras using the built-in microphone and speaker.

Image: Two-way audio feature allowing communication with visitors.
- Use the EseeCloud app to speak through the camera and listen to audio from the camera's location.
6. Kulawa
Regular maintenance ensures optimal performance and longevity of your surveillance system:
- Tsaftace ruwan tabarau: Periodically clean camera lenses with a soft, damp zane don tabbatar da ingancin hoto mai tsabta.
- Duba Haɗin kai: Ensure all power and network cables are securely connected.
- Sabunta software: Check for and install firmware updates for the NVR and cameras via the EseeCloud app or NVR interface to enhance security and features.
- Lafiyar HDD: Monitor the health of your hard drive through the NVR's storage management settings.
- Backup Recordings: Regularly back up important recordings to an external storage device if needed.
7. Shirya matsala
Idan kun haɗu da matsaloli, duba waɗannan matakan gyara matsala na yau da kullun:
- Babu Ciyarwar Kyamara:
- Check if the camera is powered on and its power adapter is working.
- Ensure the camera is within the NVR's WiFi range.
- Re-pair the camera with the NVR if necessary (refer to the NVR's user interface for pairing instructions).
- NVR Not Connecting to Network:
- Verify the Ethernet cable is properly connected to both the NVR and the router.
- Duba haɗin intanet na na'urar sadarwa ta ku.
- Restart both the NVR and your router.
- Ƙararrawa na Ƙarya:
- Adjust the AI human detection sensitivity settings in the NVR or app.
- Refine detection zones to exclude areas with frequent non-human motion (e.g., trees swaying).
- Rashin ingancin Hoto:
- Tsaftace ruwan tabarau na kamara.
- Ensure sufficient lighting for optimal image capture, especially for color night vision.
- Check the camera's position for obstructions.
8. Ƙayyadaddun bayanai
| Siffar | Daki-daki |
|---|---|
| Mai ƙira | Nivian |
| Lambar Samfurin Abu | NV-KIT830W-8CAM |
| Girman samfur | 18 x 12 x 6 cm |
| Nauyin Abu | 310g ku |
| Nau'in Wuta | Lantarki Yanzu |
| Adadin Abubuwan | 1 (Kit) |
| Nau'in Plug na Lantarki | Wall Dutsen |
| Siffofin Musamman | AI Gane Dan Adam |
| Abubuwan da aka haɗa | CCTV Camera Kit |
| Batura sun haɗa? | A'a |
| Ana Bukata Batura? | A'a |
| Fasahar Haɗuwa | Wireless (WiFi-6) |
| Ƙimar Ɗaukar Bidiyo | 2K (3MP) |
| Yawan Tashoshi | 10 (NVR) / 4 (Cameras in this kit) |
9. Garanti da Tallafawa
For warranty information, technical support, or service inquiries, please refer to the official NIVIAN website ko tuntuɓi sabis na abokin ciniki kai tsaye. Ajiye rasidin siyan ku azaman shaidar siyan don da'awar garanti.
Online resources, FAQs, and additional support materials may be available on the manufacturer's website.


